
How To Apply Name Labels To Clothing
Whether you have already purchased some iron-on labels or are trying to decide if they are right for your needs, this article is for you. Not only will we cover the many benefits of iron-on clothing labels, but we’ll also go into detail about how to apply them correctly.
Contents:
- Why use iron-on clothing labels?
- Tips for applying iron-on labels
- How to apply iron-on name labels
- What’s the difference between woven, satin and printed labels?
- Need more help? Get in touch!
Woven Labels Direct has been in the business for more than 30 years. We’ve got the experience to offer you the most important dos and don’ts, the best tips for applying iron-on labels and the answers to important questions about fabrics, washes and more.
Let’s get started!
Why use iron-on clothing labels?
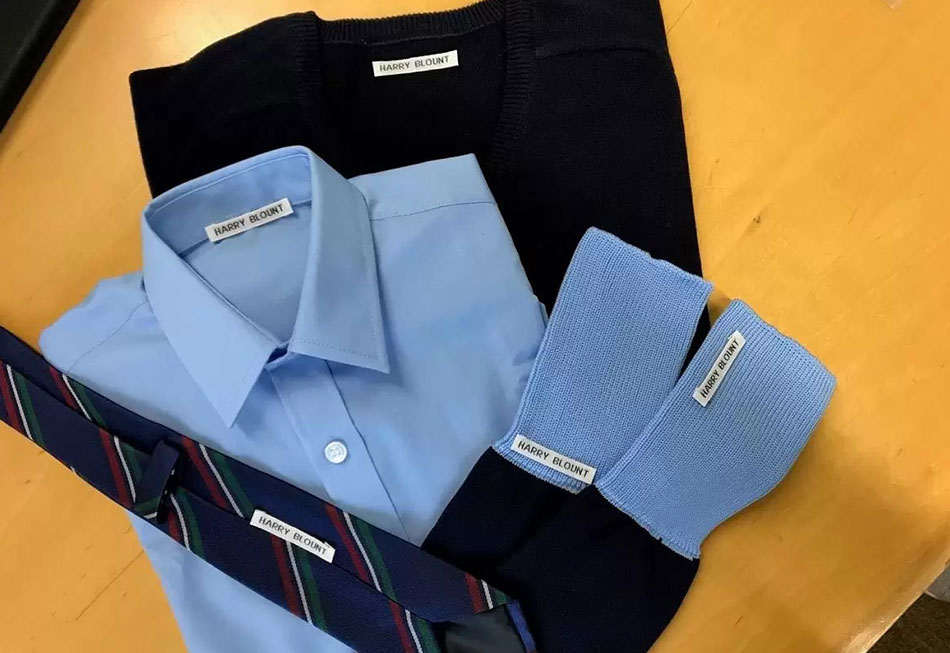
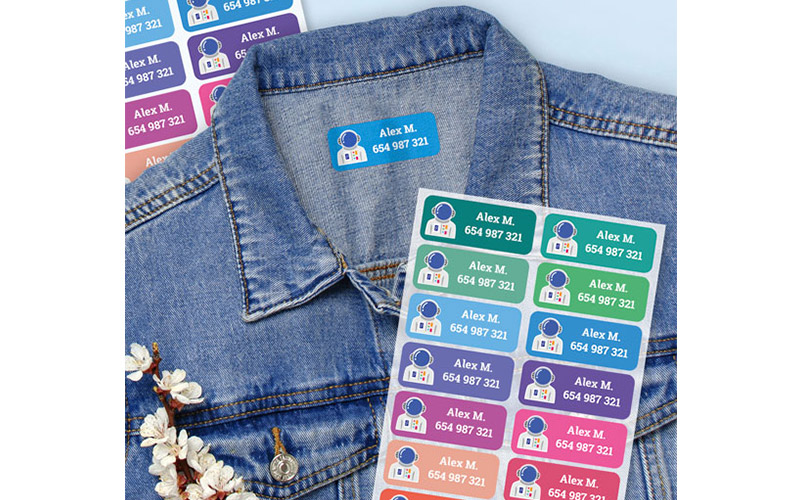
There are lots of reasons to use our printed iron-on name labels and similar products. Whether you are identifying your child’s school uniform, camp wear, PE kits or more, iron-on labels are an affordable, easy way to get the job done right.
The most important benefits include…
Affordable
With iron-on labels, you are definitely getting some good bang for your buck. And, if you order in large quantities, you’ll get an even better price and be set for labels for a good long time.

Boil Washable
All of our iron-on labels are machine washable. When applied correctly to the proper fabrics, the labels will not peel or wear away in the wash. They are even boil washable, so you can push your wash temperature to the limit without risking the integrity of your name labels.
Durable
Iron-on labels don’t just stand up in the wash. The process that fuses them to your clothing makes them become one with the fabric. This means that your label should last just as long as your clothes do.
Convenient
The primary competitor for iron-on applications are sew-in name labels. While sew-in labels have their uses, iron-on definitely wins when it comes to convenience. You don’t need any skill with a needle and thread, and you can apply a lot of labels very quickly. Perfect if you have lots of kids or are sending one away to camp with a whole summer’s worth of clothes.
Tips for applying iron-on labels
Once you’ve got your labels in hand, you need to know how to apply them. First we’ll walk you through the basic steps, then we’ll cover some niche cases and offer tips for optimum application.
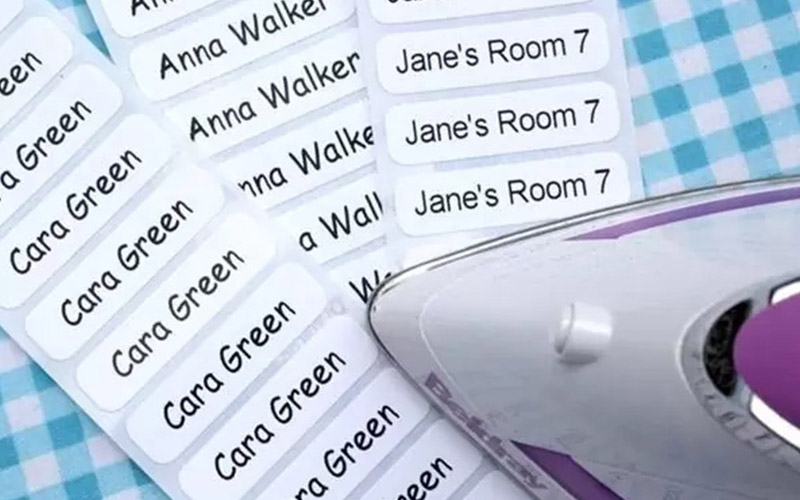
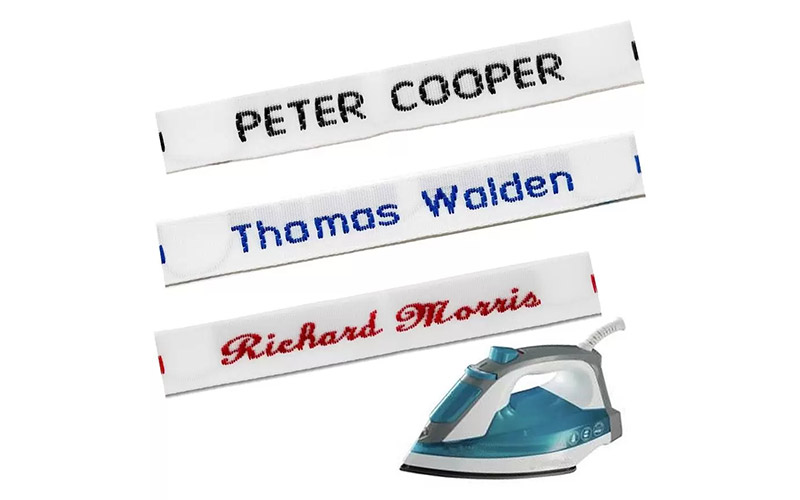
How to apply iron-on name labels
The following process is the same no matter what type of our three iron-on labels you are using: woven, satin or printed.
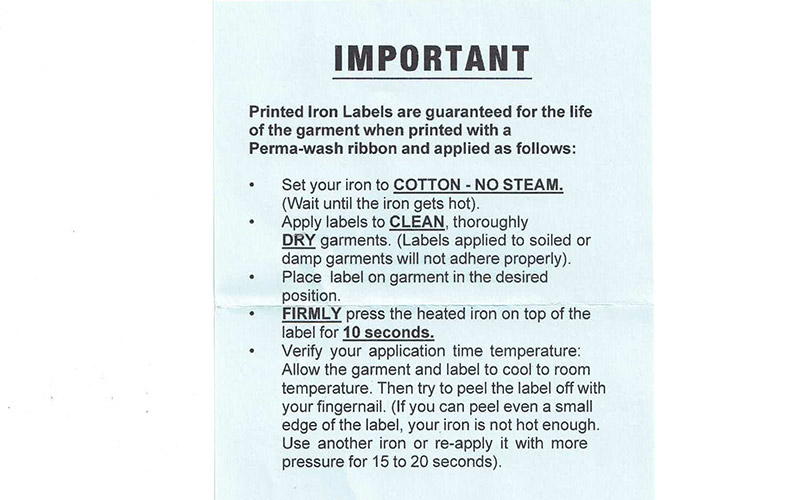
Ensure that your clothing is bone dry. If you can, toss it through the dryer immediately before application to remove any humidity that may have been absorbed from the environment.

Heat up your iron. You want your iron somewhere between very warm and hot. Every iron is a little bit different, so you may have to experiment with different temperature settings. If your iron has fabric settings, you probably want to start with “cotton”. If it has numbered settings, start somewhere near the highest setting. If your labels aren’t adhering, you can try slowly increasing the temperature.

Turn steam off. Don’t use steam during the ironing process, as extra moisture will ruin the adhesion of the label. Even if it looks good at first, it will likely peel after a little use. If your iron only functions with steam, you’ll want to find another one to work with.

Iron the clothing before applying the label. The purpose is twofold. First, labels stick better to smooth surfaces, so a little pre-ironing helps remove any excess creasing. Second, warming up the clothes a little will remove any remaining moisture and help improve adhesion. You don’t have to iron the entire item, just the area where you are going to apply the label.

Position the label and iron properly. Once you have your label where you want it, lay the center of the iron flat on top of it. Leave it there for 10 seconds and then carefully move it around with light downward pressure for a count of 5. If the label is not fully adhered, apply the iron again for another few seconds at a time until the job is done.

Avoid washing for 24 hours. Although the labels should be permanent, they need time to set. You should wait at least one full day before putting labeled garments in the wash.

Here is a video on how to apply iron on name labels by Stickerscape, a company based in the UK.
How long should I iron the labels?
It’s best to start off with a total ironing time of 15 seconds. That’s not a magic number though. The heat of your iron and the type of fabric can affect how long it takes to adhere the label. A little bit of experimentation will help you find the timing right for you. Just add a few seconds at a time to avoid overheating your garment.
What do I do if my iron is too hot?
Some irons run really hot. Or you may be working with a fabric that you are worried about exposing to too much heat. In these cases, you can protect the garment by placing a barrier such as parchment paper or a tea towel between the iron and the label. Try not to use anything too thick, or else there won’t be enough heat transfer to actually activate the adhesive.
Depending on the temperature of your iron and the thickness of your barrier, you may need to adjust the total ironing time. Start with the 15 second standard, but be prepared to iron a bit longer than expected if your labels aren’t sticking.
Why have my labels lifted after a few washes?
There are three primary causes for peeling labels.
The first cause is low temperature. If your iron wasn’t quite hot enough when you ironed on the label, it might stick for a while but won’t adhere permanently. You can try reapplying a new label at higher heat.
The second cause is moisture. If your garment isn’t completely dry when you are ironing the label, then the label won’t fuse to the fabric. Even if it looks like you have a good stick, the label will slowly fall off over time.
The third cause of peeling labels is the fabric. Specifically, garments that are pilling and those with a high ridge content (such as thick wools) are going to struggle to bond with an iron-on label.
If there’s an ironed-on label on your clothes you’d like to remove, you can quickly remove it using a couple of different methods – reheating the label or applying a vinyl letter removing solvent – Wikihow
Will iron-on labels stick to all fabrics?
Iron-on labels will stick to most fabrics that can handle the high heat of the iron. You may want to check the care labels of your garment before attempting if you are working with something like nylon that has low heat resistance.
One fabric that our iron-on labels don’t work well with is wool due to the high ridge content. Finer wools aren’t usually a problem, however. When you are working with a fabric that isn’t compatible, you have a few different options:
- Apply the label elsewhere. The most typical spot is the garment care tag.
- Use a sew-on label. If you don’t mind a little needle and thread work, sew-on labels are a great alternative to iron on.
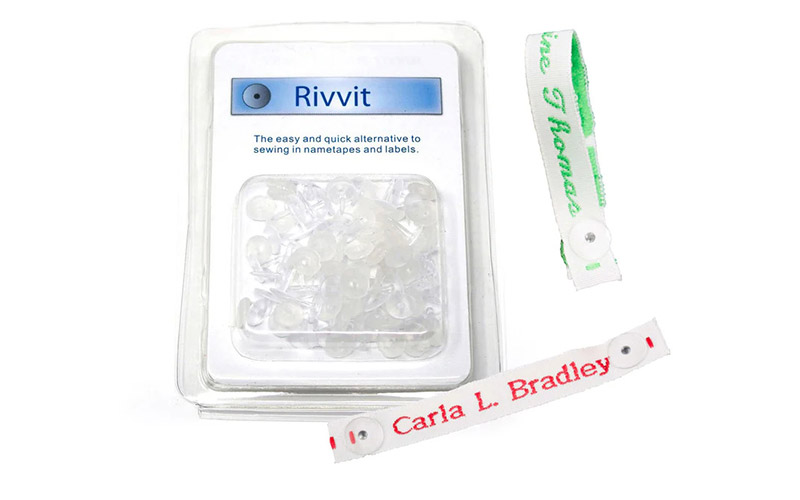
- Use a rivvit. Our rivvit name tag fasteners allow you to attach a woven label without sewing or ironing!
What if my iron is really old?
Irons that are made recently have a coating of teflon or similar material that makes them glide more easily. Older irons might not have this (or the teflon may have worn away from years of use). You may find it hard to keep the label in place as you move the iron around.
In this case, you just want to use a barrier like parchment paper. Place it between the iron and the label so that you can glide the iron around without making direct contact to the label.
Mummahack.com has instructions on how to iron iron-on labels without an iron, although they state it works, we do not recommend doing it that way, as it may result in the labels lifting up overtime.
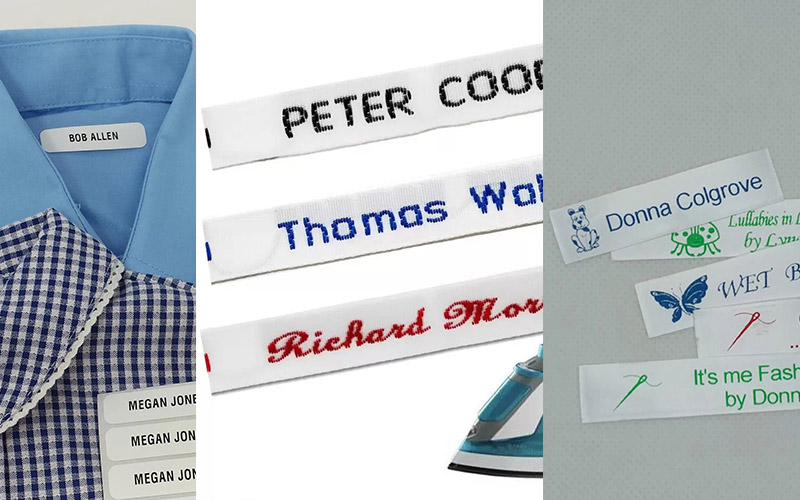
What’s the difference between woven, satin and printed labels?
When it comes to iron-on applications, there is no difference. All of the tips on this page apply equally to all three types. The different label types are simply meant to appeal to a variety of needs and tastes:
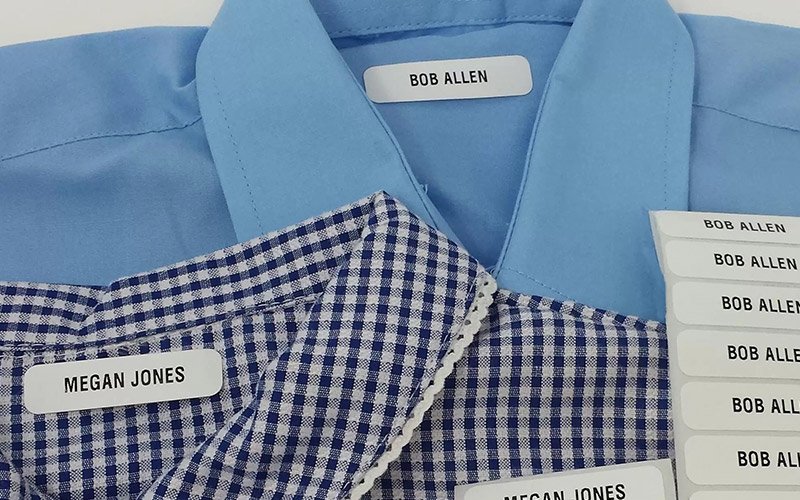
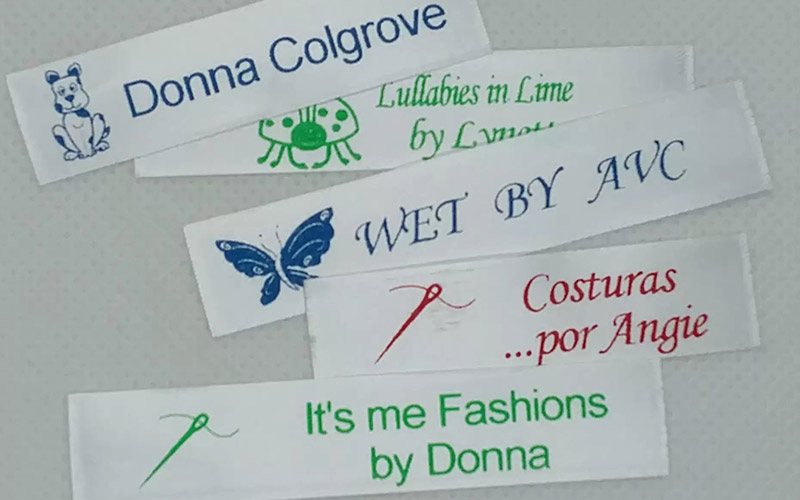
- Printed iron-on labels are a great no-nonsense choice. If you need plain text labels in large quantities, they are the perfect choice for you.
- Satin iron-on labels are a little more customisable in that you can choose your font, colour and motif. They are also soft to the touch and ideal for skin that is easily irritated.
- Woven iron-on labels provide the most luxurious look and feel of the three options. In addition to iron application, they can also be sewn in or attached with rivvits, so woven labels are the most versatile of the three.
Need more help? Get in touch!
At Woven Labels Direct, we want every customer to be satisfied with their purchase. We haven’t remained in business for decades by abandoning our customers.
So if you have any questions when it comes to applying your iron-on labels, protecting your garments, finding suitable alternative labels or more, don’t hesitate to contact us today!