

How to Label Your Kids’ Clothes for School: A Comprehensive Guide
Back-to-school preparations can be a whirlwind of shopping for school supplies, picking out the perfect backpack, and finding just the right set of uniforms. But among all the excitement, there’s one important task that often goes overlooked – labeling your kids’ clothes.
As a parent, I’ve been through the school-year chaos more times than I can count. The struggles of keeping track of lost items and making sure your child’s belongings come home with them can be maddening. That’s why I’m here to guide you through the art of labeling your kids’ clothes for school, ensuring a smoother, more organised school year.
Contents:
- The Importance of Labeling
- Choosing the Right Labels
- Personalising Your Labels
- Labeling Methods
- Labeling Tips and Tricks
- Troubleshooting Common Labeling Issues
- Our Opinion From Experience

Nearly every parent with a child in daycare or school has experienced dropping them off with something that never makes it home. – Wikihow
The Importance of Labeling
Before we delve into the ‘how,’ let’s discuss the ‘why.’ Why is it essential to label your child’s school clothes?
1. Lost and Found Savvy
Kids have a knack for misplacing things. Labeling clothes increases the chances of lost items finding their way back to their rightful owners.
2. Uniform Uniformity
In many schools, uniforms are the norm. Without labels, your child’s white shirt and grey skirt might easily get mixed up with their classmates’.
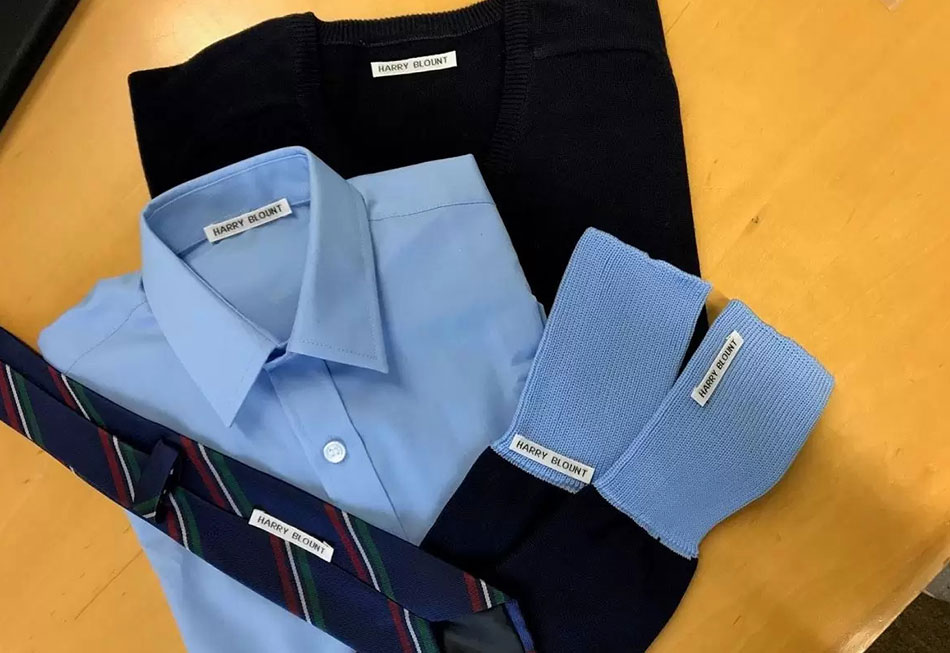
3. Hygiene Matters
In shared spaces like schools, it’s essential to ensure your child doesn’t wear someone else’s clothing by mistake. Labeling helps maintain hygiene.
Now that we understand the significance, let’s get practical!
Choosing the Right Labels
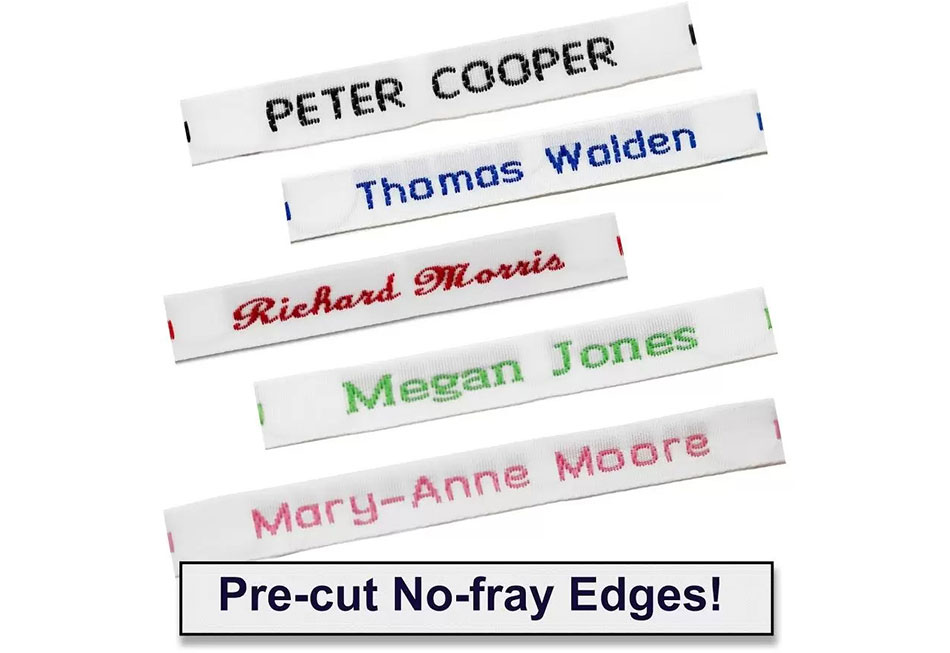
1. Sew-In Labels
Sew-in labels are the traditional choice. They’re durable, long-lasting, and don’t fade with washing. You can sew them into the garment’s collar, waistband, or hem. Opt for personalised labels with your child’s name, class, and contact information.
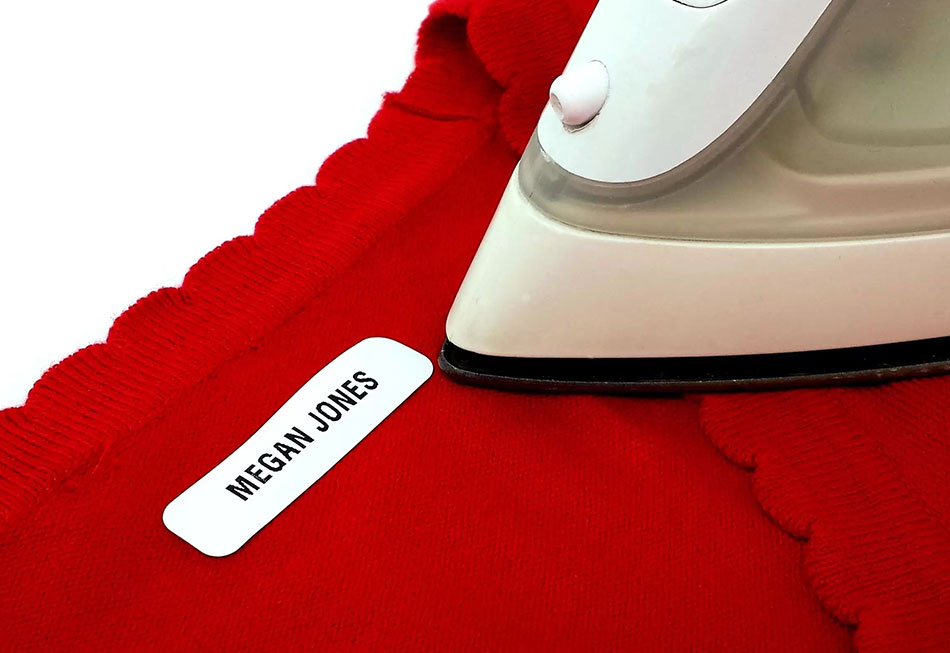
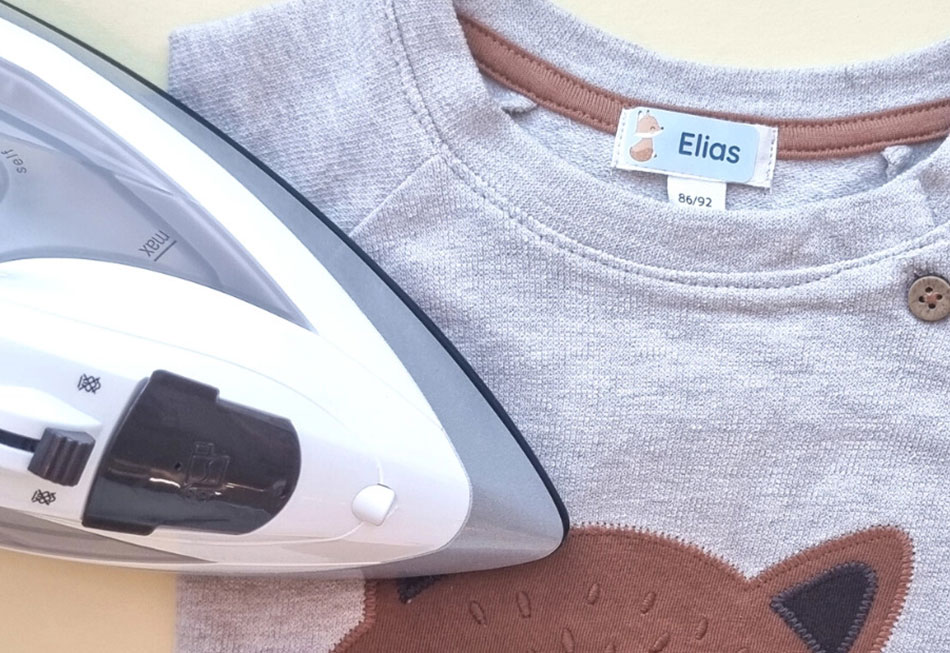
2. Iron-On Labels
Iron-on labels offer a convenient alternative. They’re quick and easy to apply, often with just a household iron. But beware, they may not last as long as sew-in labels.
The best way to create permanent labels for PE Uniforms is to use iron-on labels. – Smartfundiy
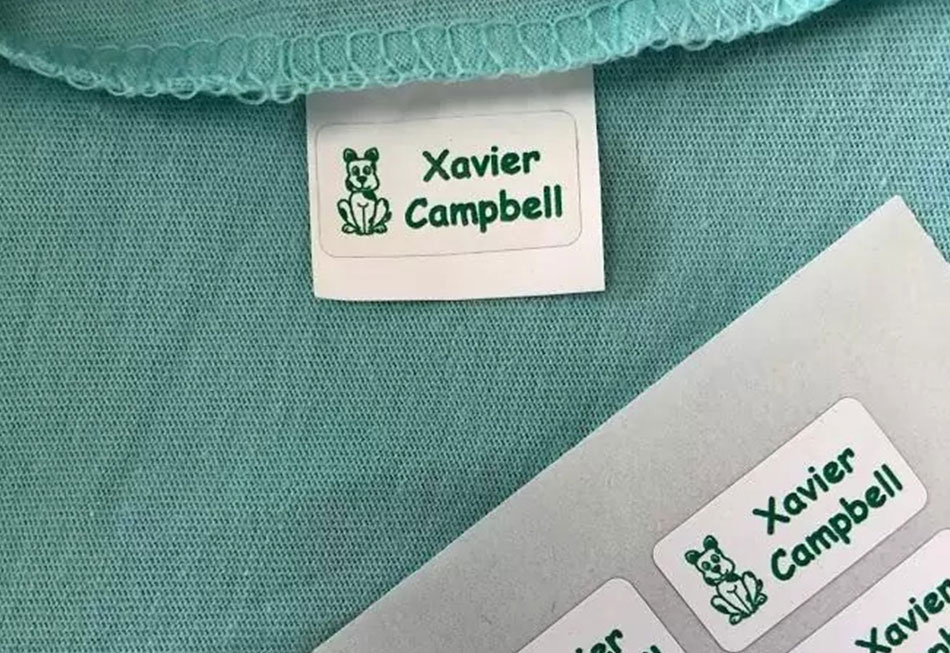
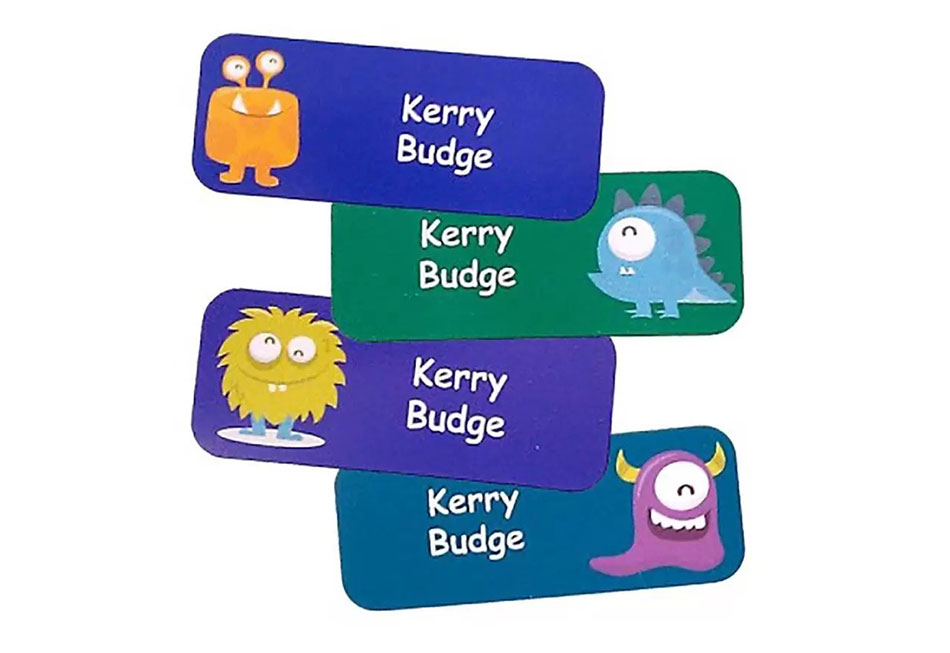
3. Stick-On Labels
If you’re not the crafty type, stick-on labels are your go-to option. They’re adhesive and can be applied to clothing tags or fabric directly. Just be cautious with these – they can peel off after repeated washes.
Personalising Your Labels
Personalisation not only adds a touch of style but also makes it easier to identify your child’s clothes.
1. Fonts and Colours
Choose a font and colour that your child loves. This not only makes the label more appealing but also helps your child identify their clothes quickly.
2. Include Contact Details
In case a piece of clothing does get lost, having your contact information on the label ensures that it can be returned to you.
Labeling Methods
1. Sew-In Labels
- Thread a needle with a matching thread color.
- Gently fold the label in half and stitch it into the garment.
- Make sure to secure it with several stitches to prevent it from coming loose.
2. Iron-On Labels
- Preheat your iron to the recommended temperature.
- Place the label on the garment.
- Cover the label with a thin cloth.
- Press the iron on top for the specified time.
- Allow it to cool before testing the adhesion.
3. Stick-On Labels
- Ensure the clothing is clean and dry.
- Apply the label to the fabric or clothing tag.
- Press it firmly to ensure proper adhesion.
Labeling Tips and Tricks
Now, here are some extra tips to make your labeling process a breeze:
1. Go for Durability
- Kids’ clothes endure a lot. Choose labels that withstand wear and tear.
2. Consistency is Key
- Label all your child’s clothing items, not just uniforms. This includes socks, hats, scarves, and even their backpack and its contents.
Labelled property can be easily returned to its owner – Elanorahts-p.schools.nsw.gov.au
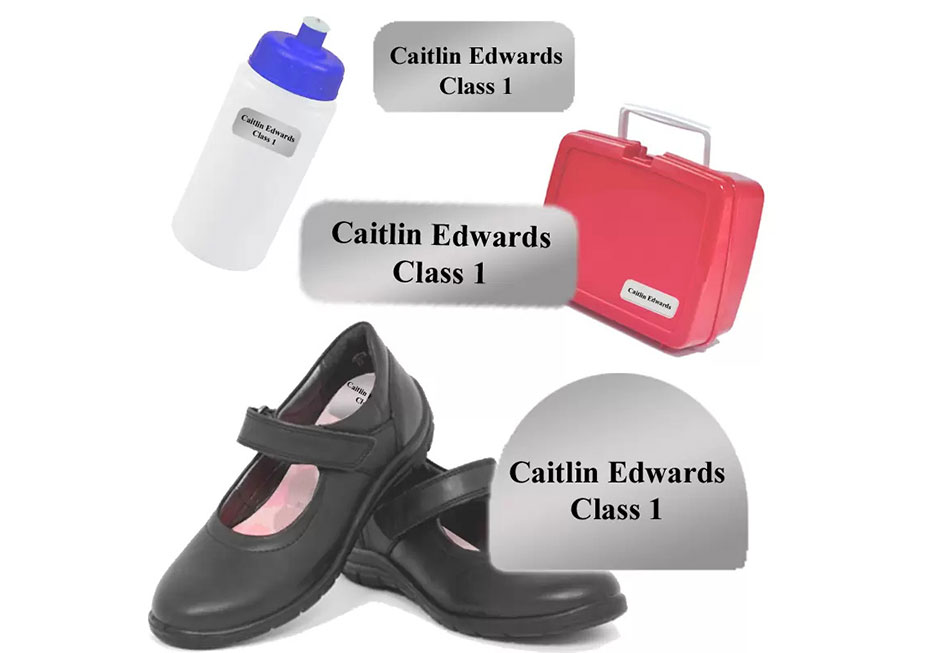
3. Label Shoes
- Don’t forget to label your child’s shoes. A small label inside the shoe can be a lifesaver.
4. Involve Your Child
- Make labeling a fun activity for your child. Let them pick their label style and help you apply them.
5. Regularly Check Labels
- Over time, labels may start to peel or fade. Regularly check and reinforce or replace them as needed.
Troubleshooting Common Labeling Issues
As a parent, I’ve faced a fair share of labeling conundrums. Here are some common issues and their solutions:
1. Labels Not Staying On
- If stick-on labels keep peeling off, consider iron-on or sew-in options for durability.
2. Iron-On Labels Cracking
- Ensure you’re not using excessive heat and that you’re following the manufacturer’s instructions, or if you are unsure, you’re always welcome to contact us!
3. Labels Fading
- High-quality labels are less likely to fade. Invest in good ones.
Our Opinion from Experience
Labeling your child’s clothes for school might seem like a minor task, but it’s a big win for both you and your child. It reduces stress, saves time, and keeps everyone’s belongings where they belong.
I’ve been through the chaos of the school year, and I can attest to the relief that comes with well-labeled clothes. So, choose your labels, personalise them, and apply them with care. Your future self will thank you for it, and your child will head to school with confidence, knowing their clothes are uniquely theirs.
Remember, a labeled uniform is a happy uniform. Happy labeling! 🏫✏️