
Woven Labels Direct

Categories
Uncategorized

Woven Labels That Work Hard for Your Brand

A beautifully made garment can lose credibility in seconds if its label curls at the edges, fades after a few washes or feels scratchy against the skin. Woven labels do more than add a name or logo. They show customers who made the item, help garments find their way home, and bring a finished, professional look to products of every size.

For an Australian fashion start-up, a market-stall maker or a parent labelling school uniforms, the right label depends on where it will be used, how often it will be washed and what it needs to say. The best choice is rarely just the cheapest one. It is the label that stays clear, comfortable and securely attached for the job at hand.

Why woven labels remain a favourite

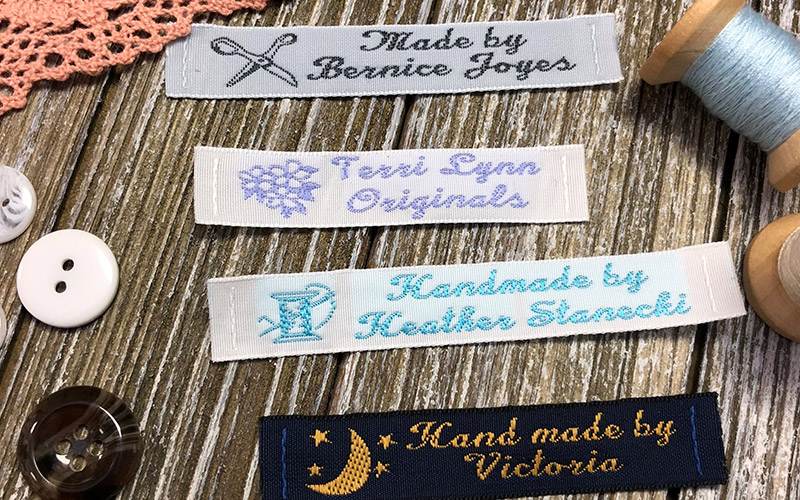
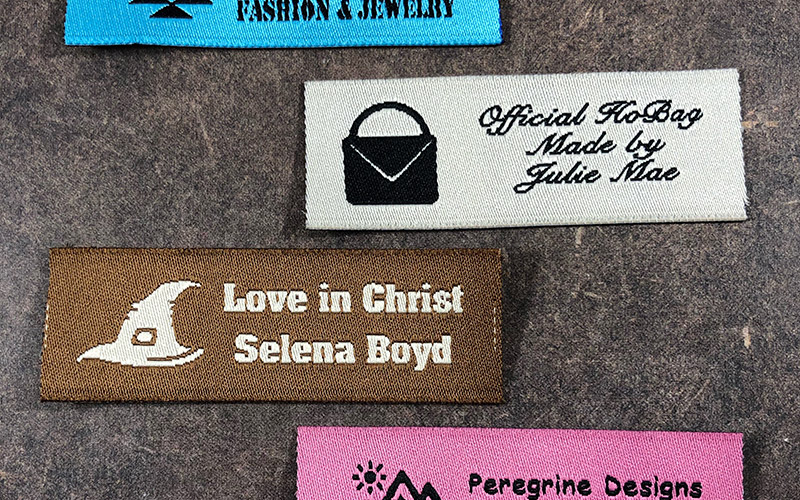
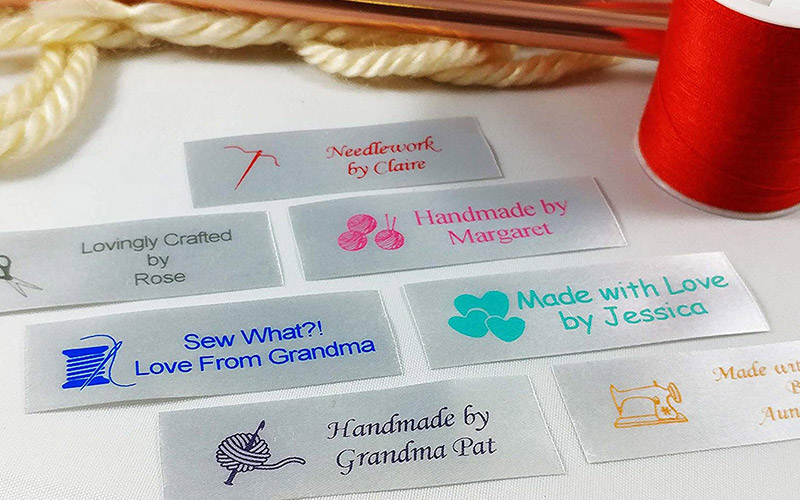
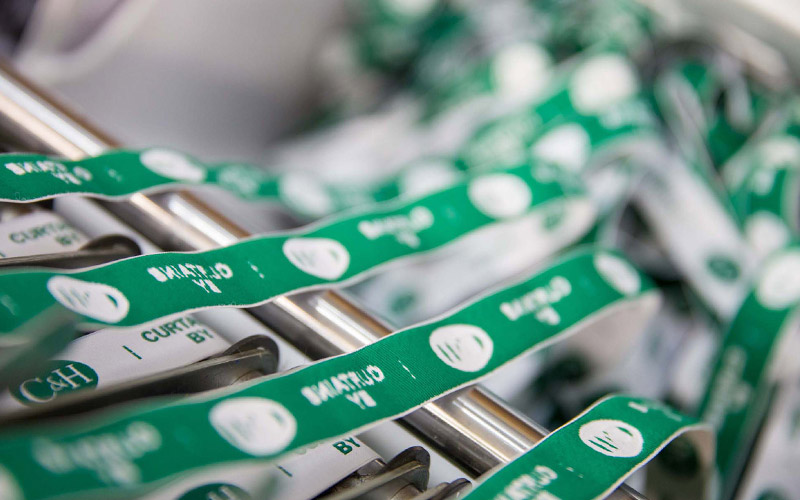
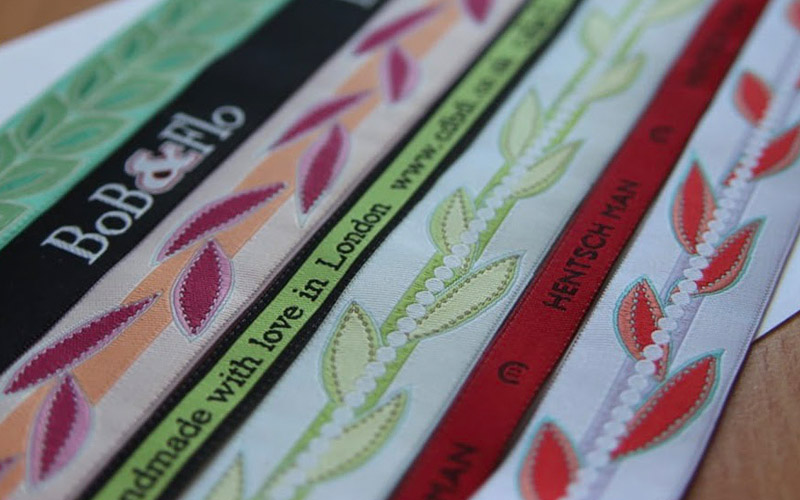
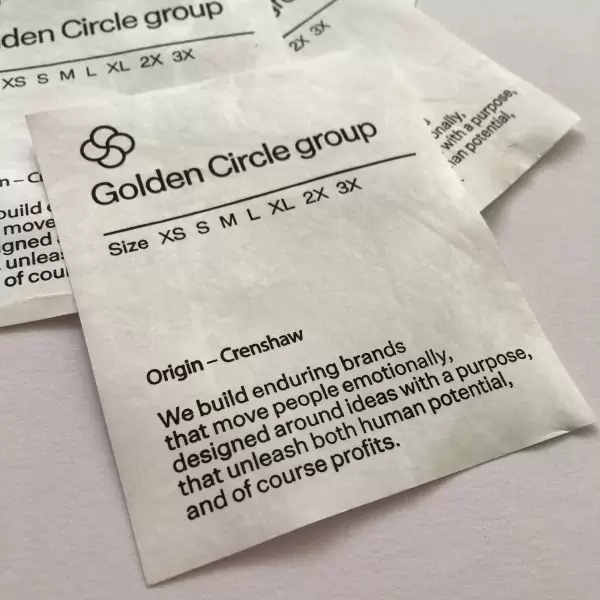
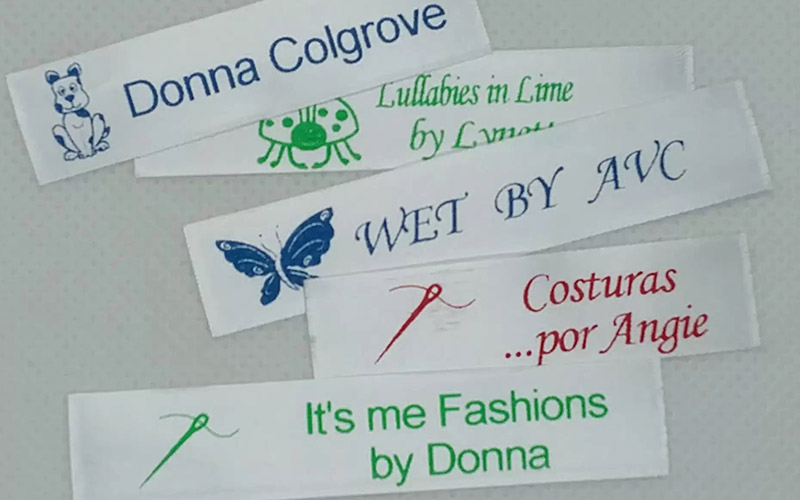
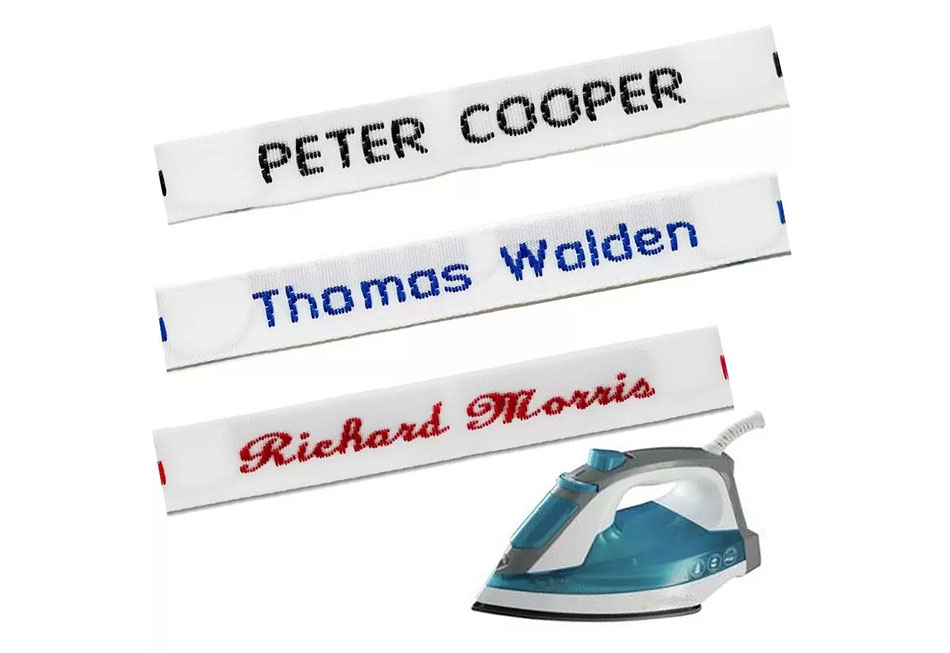
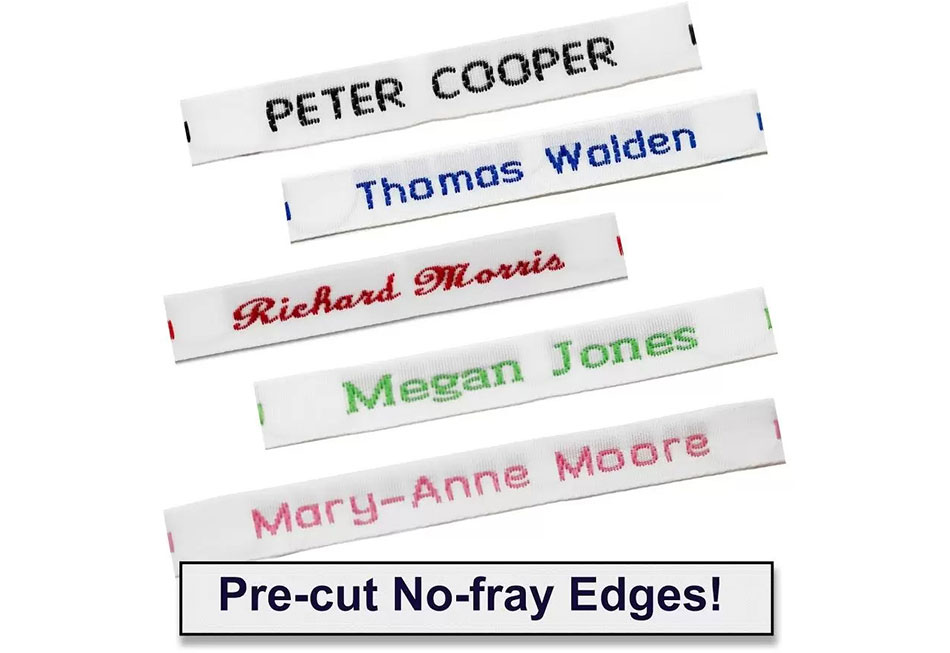
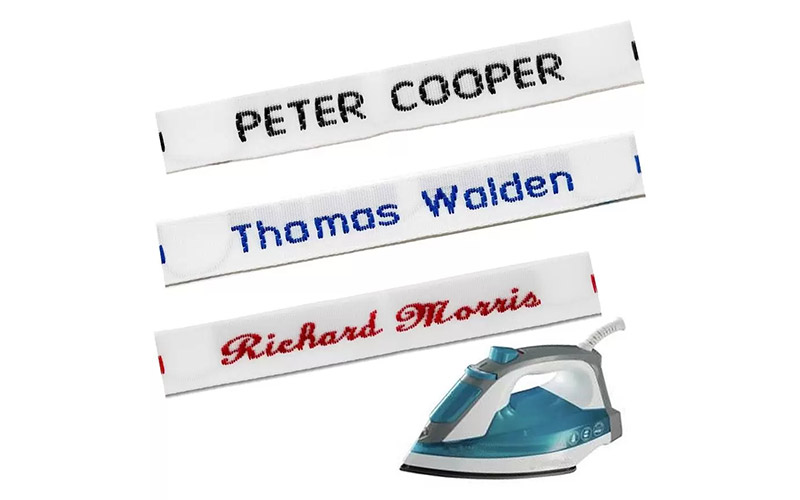
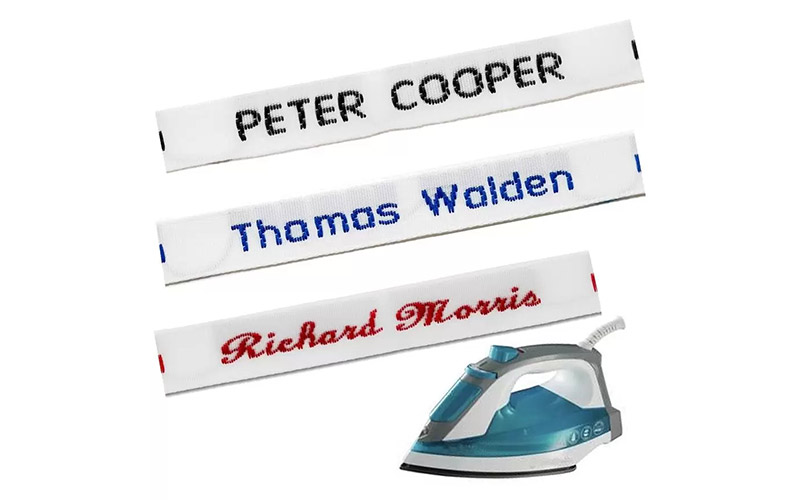
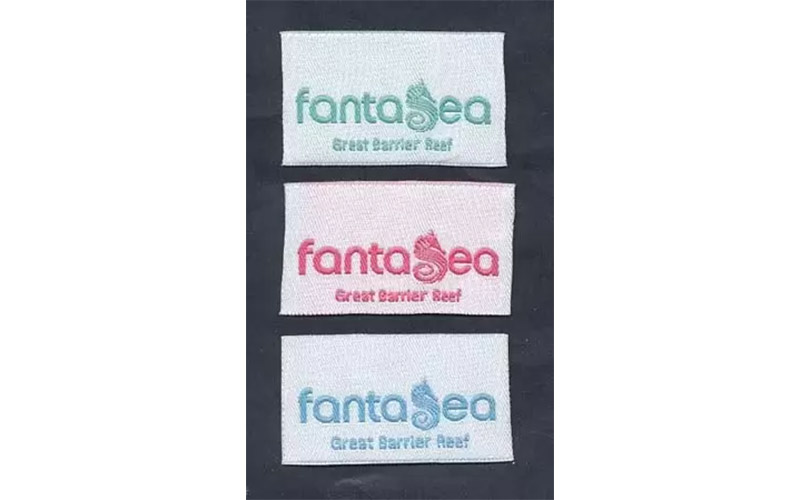
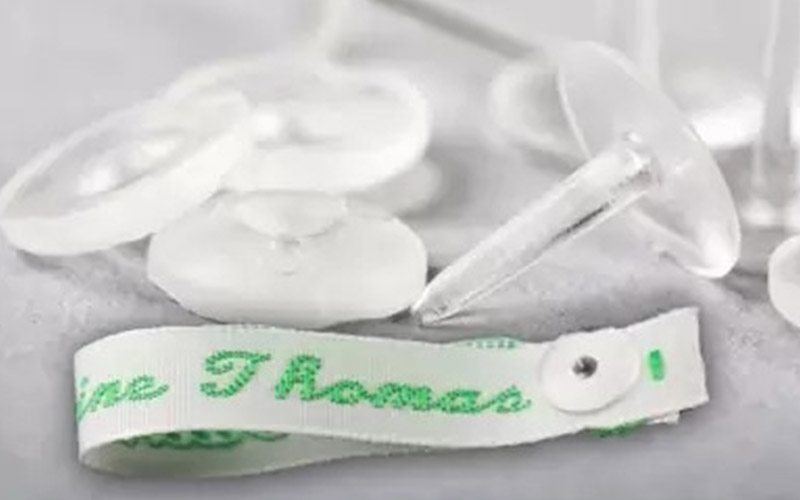
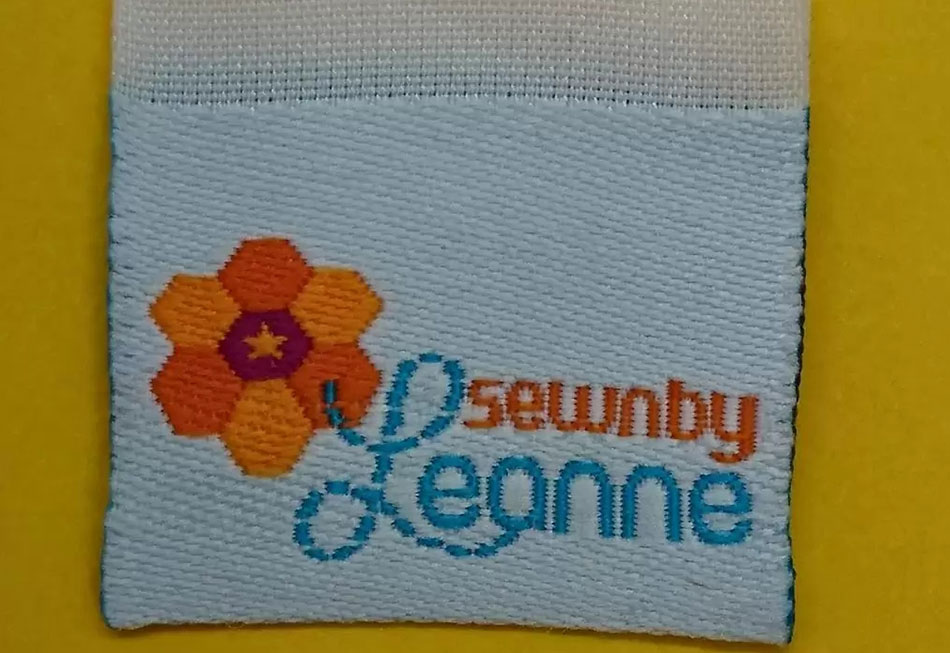
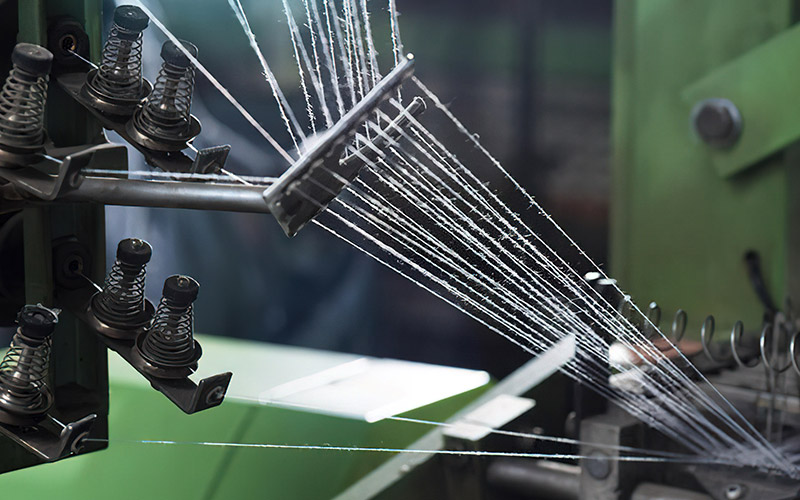
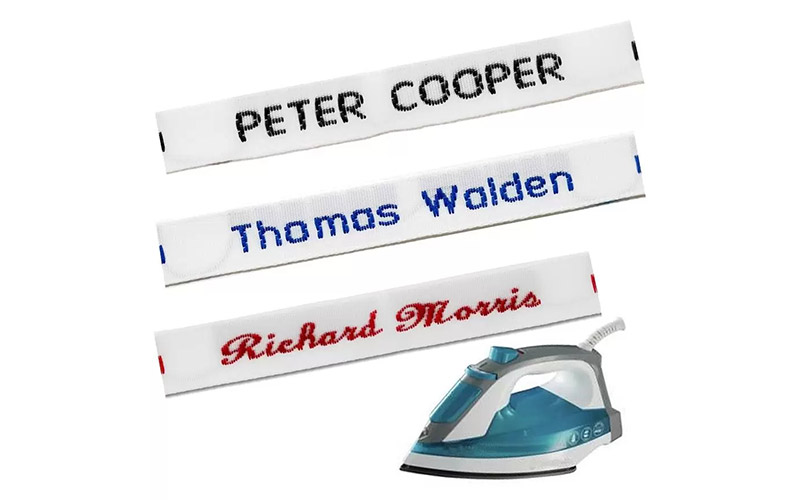
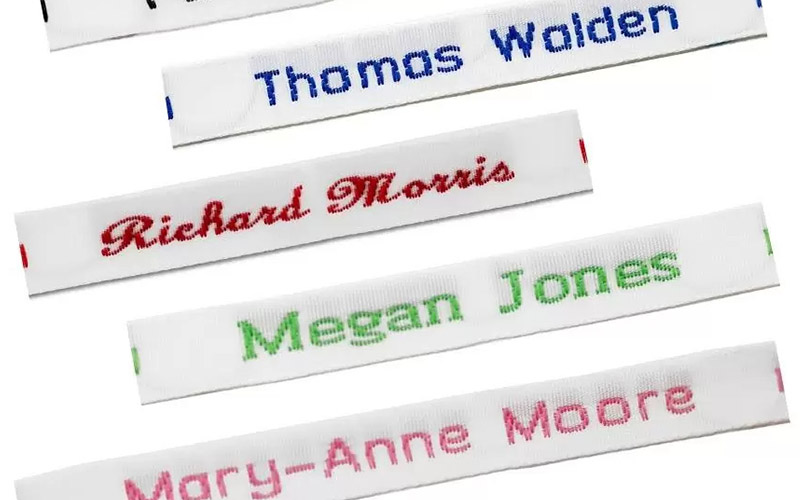
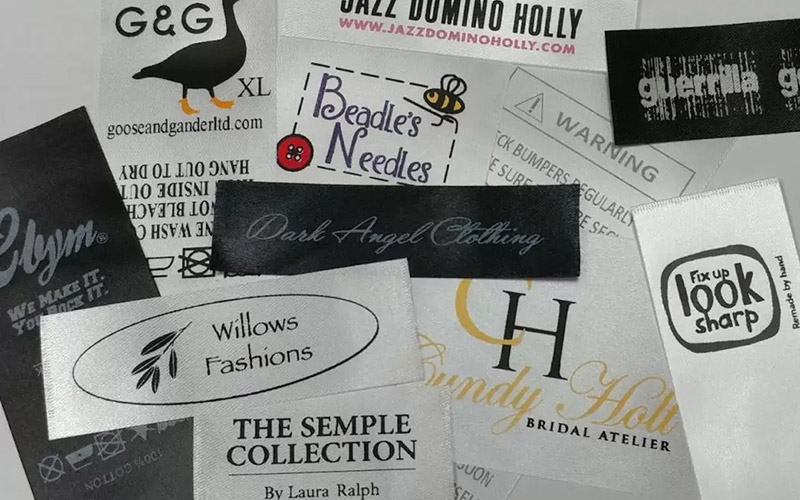
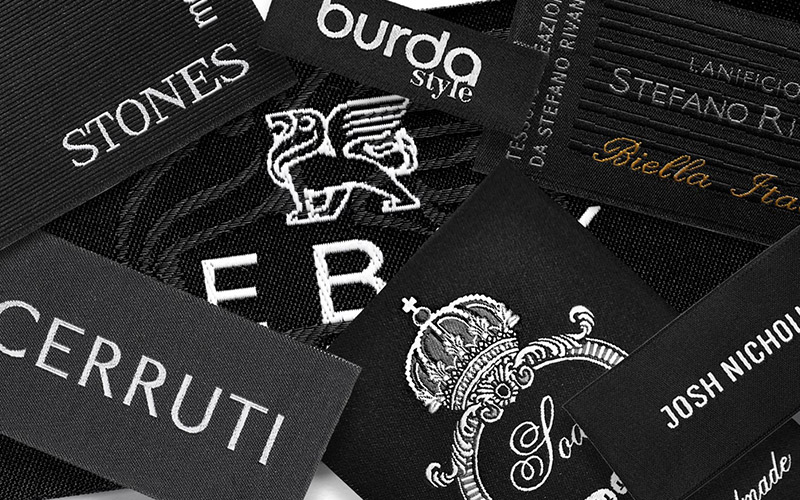
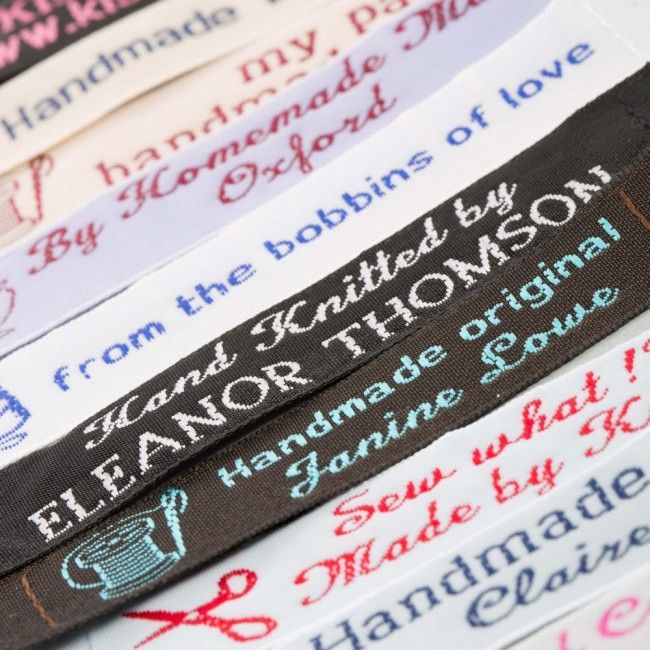
Woven labels are made by weaving coloured threads together to create lettering, logos and details. Unlike a printed surface, the design is built into the label itself. That gives it texture, depth and excellent durability through repeated wear and laundering.

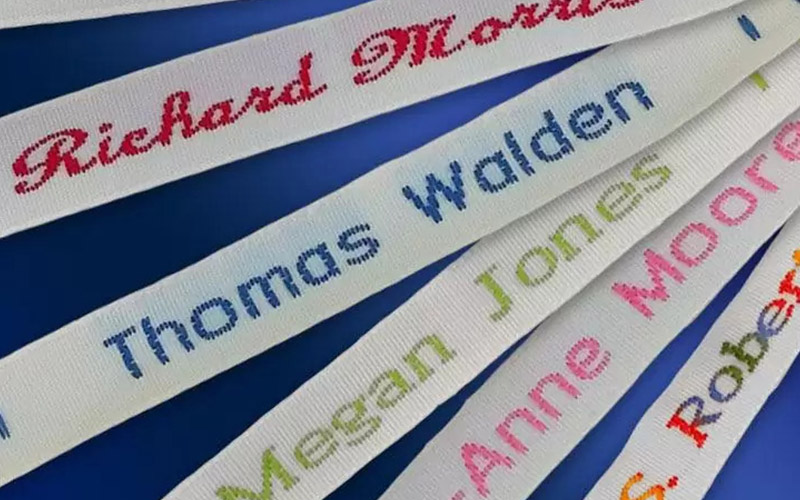
They are particularly well suited to clothing brands, handmade garments, knitwear, bags, soft furnishings and accessories. A crisp woven brand label can make a small production run feel considered and retail-ready, while a simple name label can withstand the daily reality of school, sport and camp.

There is a practical trade-off, though. Woven construction works best for clear text and artwork with defined shapes. If your design contains tiny lettering, fine photographic detail or many colour gradients, a printed label may reproduce it more accurately. Choosing the right labels for the right job saves disappointment later.

Start with the label’s purpose

Before choosing thread colours or folds, decide what the label must do. A brand label is often about recognition and presentation. A care label needs clear instructions. A school name label has to remain legible after frequent washing and hard use. A care-home label should be easy for staff to read and securely fixed to regularly handled belongings.

For clothing makers, it is common to use more than one label. A woven main label at the neckline or waistband establishes the brand, while a separate printed care label carries fibre content, care instructions and sizing. Trying to fit every detail onto one small woven label can make it crowded and difficult to read.

For handmade products, a short brand name, logo or “handmade” message is usually enough. Let the product do the talking. A label should support your work, not compete with it.

Think about where it will sit

Placement affects both comfort and appearance. Neck labels need a soft finish and should not have sharp cut edges touching the skin. Side-seam labels can be folded into a seam for a neat result, while a label sewn flat on a bag, beanie or apron can become a visible design feature.

If a label will be stitched into a seam, allow enough blank space at each end for sewing. If it will be sewn onto the surface, consider a border so stitches do not run through important lettering. These small decisions make a noticeable difference once the product is in customers’ hands.

Choosing the right woven label finish

The finish is not merely decorative. It changes how the label is attached, how it feels and how much information it can carry.

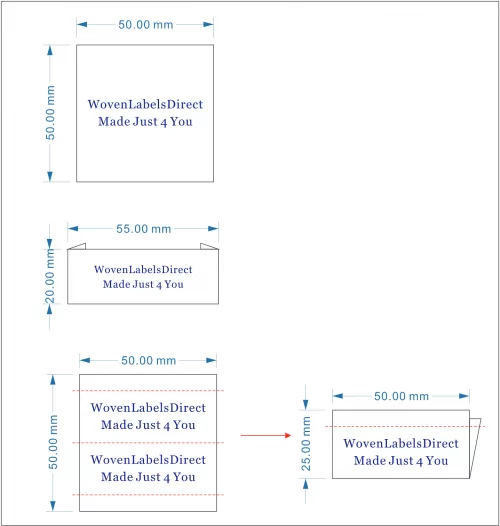
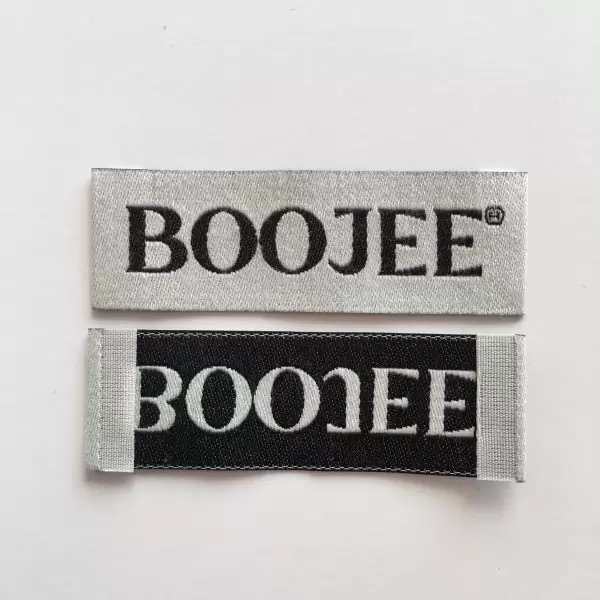
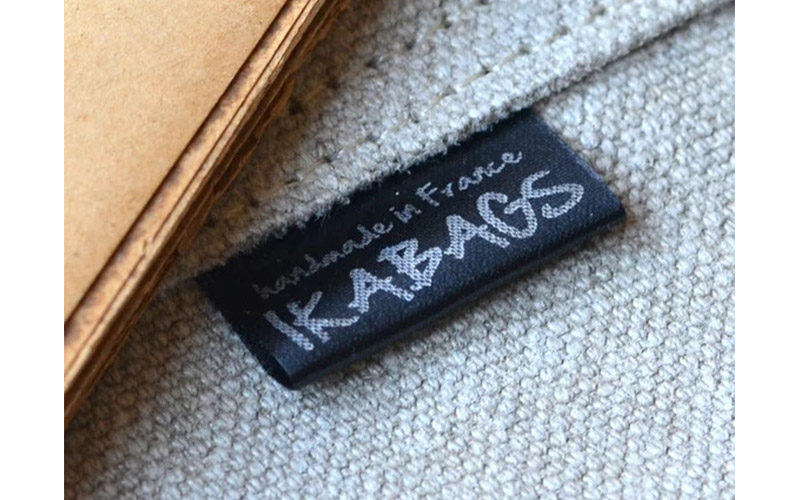
A straight-cut label is a simple rectangle, usually sewn around all four sides or into a seam. It suits bags, quilts, craft projects and garments where the label will sit flat. End-fold labels have folded edges that are sewn into a seam or attached at each end, creating a raised centre section. They are a popular choice for brand names at the back neck of clothing.

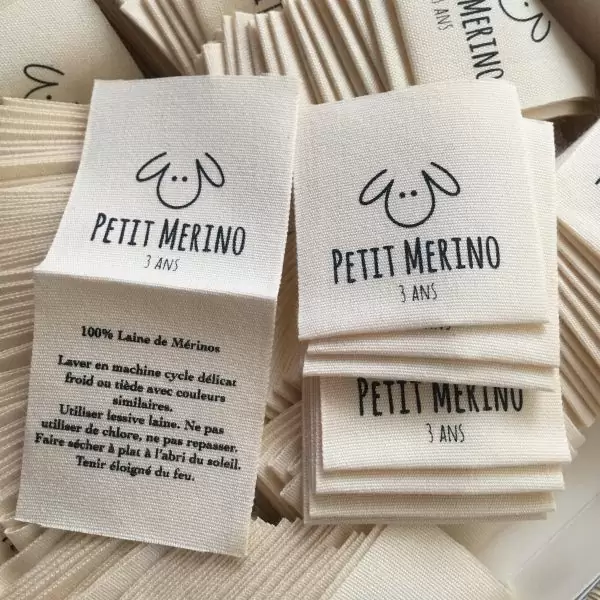
Centre-fold labels are folded in half, which makes them useful for side seams and for designs that need text on both sides. Loop-fold labels are similarly useful when you want the label to extend from a seam, such as on scarves, bags or children’s clothing. For items worn close to the skin, ask for a soft, high-density woven finish that keeps the detail clear without feeling stiff.

A professional supplier should help you match the fold to the product rather than asking you to guess. At Woven Labels Direct, that practical advice is part of making sure a label looks right when it is sewn in, not just on a screen.

Make the design easy to read

The most effective woven labels are usually the simplest. A strong logo, a business name and one or two carefully chosen colours will often look better than an overcrowded design. Small labels have limited space, and thread has physical thickness. Details that look sharp in a digital file can merge when woven too small.

Use clear contrast between the background and lettering. Dark thread on a pale background, or pale thread on a dark background, is generally easier to read than two similar tones. If your brand colour is subtle, it can still work well, but test whether the name remains legible from a normal viewing distance.

Consider the scale of the product too. A label on a newborn bodysuit should be smaller and softer than one on a canvas tote. A premium coat may suit a detailed damask-style weave, while a casual kids’ garment may need a straightforward, high-contrast label that can take plenty of washing.

Include only what belongs there

A brand label is not the place for long care instructions, an address, social media details and a slogan all at once. If customers need more information, use a separate care label, hang tag or packaging insert. Keeping the woven label focused makes it easier to read and more attractive.

For school and camp items, prioritise the child’s first name and surname. A phone number may be helpful for some belongings, but make sure the text will still be large enough to read. For residential care, a clear full name is often more useful than a decorative layout.

Durability comes from more than the weave

A quality woven label is designed to handle washing, wearing and ordinary handling, but its lifespan also depends on attachment. A well-made label can still come loose if it is lightly stitched to a stretchy fabric or placed where it is constantly pulled.

For commercial garments, use secure stitching that suits the fabric and construction. Test a finished sample through washing before committing to a larger production run, especially if you are using dark dyes, heavy fabrics or delicate materials. For home sewing, take the time to stitch all required edges evenly so the label does not catch, curl or fray.

It also pays to think about the customer experience. A stiff label in the back neck can be irritating, even if it looks excellent. In that situation, a softer woven option, a satin label or a printed heat-transfer label may be the better choice. Premium branding should feel as good as it looks.

Order quantities and timing without overcommitting

Small businesses often need labels before they are ready to place a large factory-sized order. Parents may only need enough labels for one child’s uniform, while a designer launching a capsule collection may want to test a brand label before increasing production. Small runs allow you to assess colour, size, placement and customer feedback without tying up unnecessary cash.

Larger quantities can reduce the unit cost, so they make sense once a design is settled and production is consistent. The key is to avoid ordering thousands of labels before you have checked the spelling, final logo version and garment measurements. A sample garment with the label sewn in is worth far more than a perfect-looking artwork file.

Allow time for made-to-order production, particularly before school terms, camps, Christmas markets and collection launches. If timing is tight, ask what options are available early. A clear brief and approved artwork help keep the process moving.

A label is a small detail customers remember

Customers may not always consciously notice a woven label, but they notice the confidence it gives a product. It tells them the maker has thought about the finishing touches, the care of the item and the experience of owning it.

Whether you are identifying a child’s jumper, finishing your first clothing collection or preparing stock for a busy market season, choose a label that suits the fabric, the use and the message. Made to order and made to last, the right label keeps doing its job long after the first impression.

Categories
Uncategorized

Same Day Labels for Urgent Australian Orders

A missing name label can turn the first day of school into a scramble. A last-minute market stall can leave a maker with beautiful products but no branding. And when a relative moves into residential care, clearly identifying clothing and personal belongings cannot wait for a long production cycle. Same day labels are designed for those moments when you need a practical identification solution quickly, without settling for something that will peel, fade or become unreadable after a few washes.

Fast service matters, but choosing the right label matters just as much. The best option depends on what you are labelling, how it will be used and whether it needs to survive laundry, heat, handling or outdoor conditions. A label for a school jumper has different demands from a hang tag on handmade candles or a care-home label inside a cardigan.

What same day labels are designed to solve

Same day labels are generally selected custom label products that can be prepared and dispatched quickly once the order details are confirmed. They are especially useful when a deadline is fixed: school starts on Monday, camp packing is underway, a new clothing range is being photographed, or a market is only days away.

The key distinction is between same-day dispatch and same-day delivery. Dispatch means your completed order leaves the manufacturer promptly. Delivery timing then depends on the chosen freight service and your location, particularly for regional and remote Australian addresses. If the deadline is non-negotiable, allow time for transit and check the available dispatch arrangements before placing the order.

Not every custom product is suitable for a rapid turnaround. Fully woven labels, embroidered patches and detailed made-to-order packaging can involve longer production processes because they are created from scratch using specific materials, colours and finishes. Fast-dispatch options are often better suited to straightforward name labels and selected printed products where the artwork and personalisation can be confirmed promptly.

Choose the label for the job, not just the deadline

When time is short, it is tempting to order the first option that looks right. A few minutes spent considering the application can save the frustration of relabelling everything later.

For school uniforms, sportswear and camp clothing, the priority is a name that remains clear through regular washing and wear. Labels need to suit the garment fabric and the way they will be applied. For many families, a clear printed name label is the most practical route for polos, shorts, hats, swimmers and other items that seem to disappear from school lost property with remarkable speed.

For residential care, legibility and consistency are particularly important. Clothing, towels, slippers, bags and personal items are often washed, handled and returned by several people. Use a simple format with a full name that is easy to read. If room details are needed, include them only when they are likely to remain current. A label with outdated information can create more confusion than no label at all.

For clothing makers and designers, urgent labels may be needed for a sample run, product launch or a small wholesale order. Printed garment labels and care labels can provide essential sizing, fibre-content, care and brand information where speed is a priority. For a premium long-term collection, however, it may be worth allowing extra production time for woven labels, satin labels or custom patches. They create a different finish and can better support the feel of a considered fashion brand.

For market sellers and small businesses, labels are often about presentation as well as identification. A fast label solution can help you add a business name, product details or care instructions before an event. Keep the design clean. A logo, a readable business name and one useful line of information will usually work harder than a crowded label trying to say everything.

How to order same day labels without delays

Quick production relies on complete, accurate information. The most common hold-up is not the label itself. It is an unclear name, a missing artwork file, a typo discovered after approval, or uncertainty about the label type.

Start by deciding exactly what text is required. For children’s belongings, first name and surname are usually enough. For commercial labels, make sure spelling, sizing, care wording and contact details have been checked by someone who will spot errors before production begins. Read every line aloud if you need to. Small mistakes are far more visible once they appear on a run of labels.

Next, choose a design that suits a fast decision. Simple text, high contrast and uncomplicated layouts are easier to review and clearer in use. If you are supplying a logo, use the cleanest available version rather than a screenshot or a photo of a business card. Fine lines and tiny lettering may not reproduce well at label size, particularly on a small care label or narrow name label.

Then consider quantity realistically. Ordering enough labels for the immediate job is sensible, but a small buffer is useful for growth, replacement items or the odd label applied crookedly. Parents often find that one child needs labels for more than uniforms: drink bottles, lunch bags, library bags, sporting gear and camp clothing quickly add up.

Finally, check your order details before submitting them. Confirm the name or artwork, product format, quantity and delivery address. If your request has a firm deadline or you are unsure whether a product is eligible for rapid dispatch, contact the team early. Direct support is valuable when you need the right labels for the right job, rather than a guess made under pressure.

Fast does not have to mean disposable

A quick turnaround should not mean choosing labels that only last until the next wash. The appropriate material and application method make a real difference to how well a label performs.

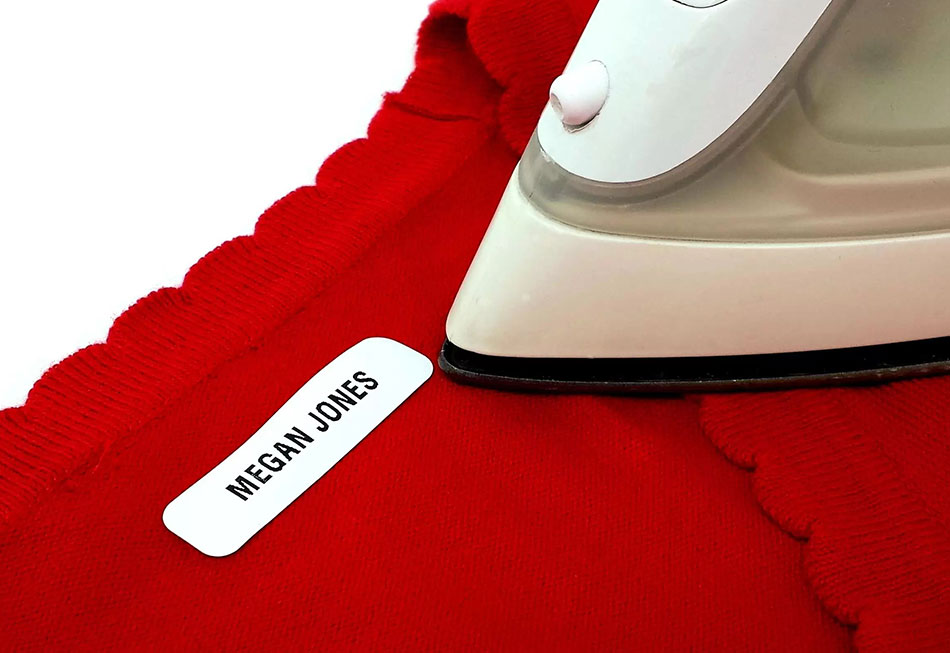
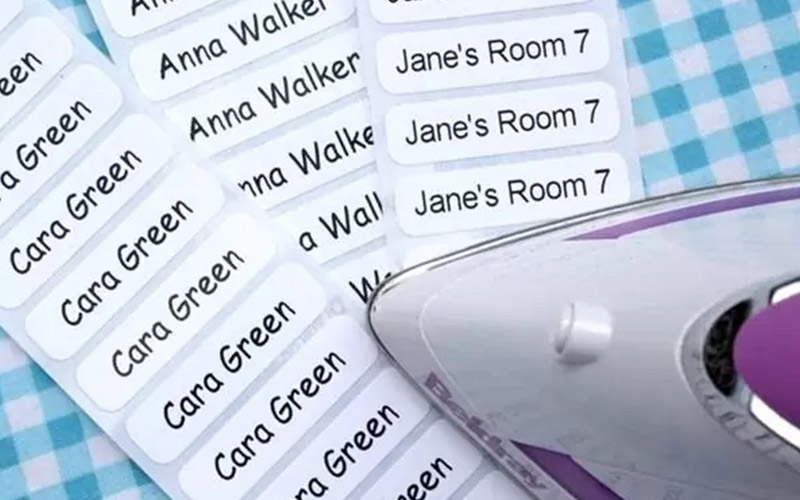
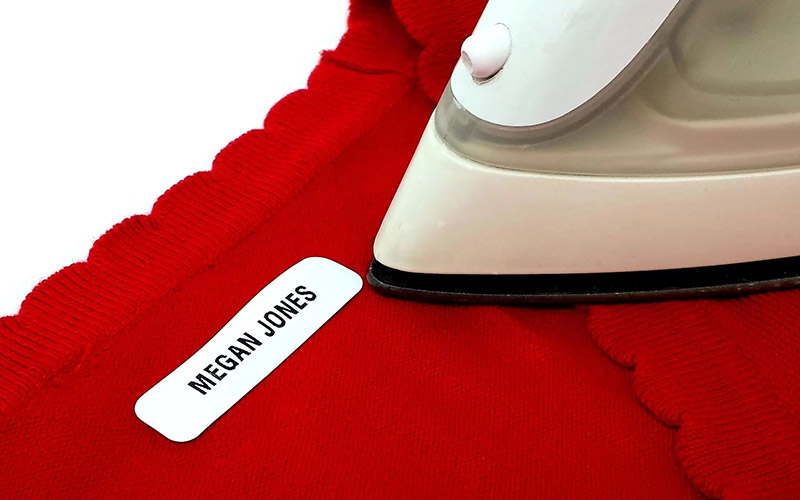
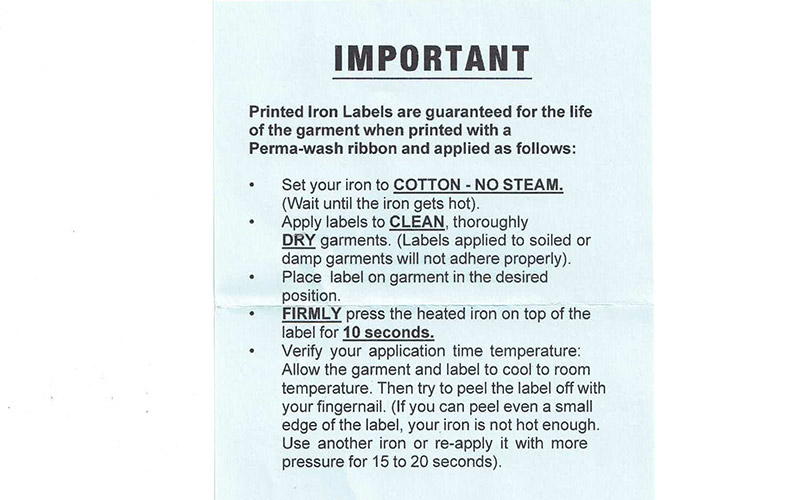
Heat-transfer labels are often a practical option for fabric items when applied correctly to a suitable garment. Follow the application instructions closely, including temperature, pressure and cooling time. Rushing this step can affect adhesion, even when the label itself is made to last. Avoid applying labels over seams, heavy ribbing or uneven surfaces where possible.

Printed labels can suit a broad range of naming and information needs, but their usefulness still comes down to matching them to the surface. A label intended for clothing will not necessarily be the best choice for a rough outdoor item, and a packing label may not be appropriate for regular laundering. If the item will face heat, moisture, repeated washing or heavy handling, say so when seeking advice.

Durability also depends on the information you put on the label. Use a readable font size and strong contrast between the background and text. Pale grey lettering might look refined on a screen, but it is less helpful in a busy school change room or a shared laundry. Clear identification is the goal.

When a longer production option is the better call

Same-day dispatch is a useful service, not a reason to compromise on every project. If you are building a fashion label, preparing a wedding favour range or creating products intended to carry your brand for years, a more tailored label may be the better investment.

Woven labels offer texture and a professional garment finish. Satin and cotton labels can support a softer, more natural presentation. PU leather patches, rubber badges and embroidered designs can add dimension where a standard printed label would feel out of place. These products often need more lead time, but they can be the right choice when the label is part of the product experience rather than simply a practical name marker.

The sensible approach is to separate urgent needs from long-term needs. Use a fast option to meet an immediate deadline, then plan your next run with the materials, finishes and quantities that suit your brand or household routine. This is especially helpful for small businesses testing a range before committing to a larger order.

A little preparation makes the next urgent order easier

Keep your preferred label wording, logo file and previous order details in one easy-to-find folder. Families can make a simple list of items that need names before the school term starts. Businesses can keep approved artwork and care-label wording ready for new production runs. These small habits make a last-minute order much less stressful.

At Woven Labels Direct, the aim is straightforward: provide made-to-order and made-to-last products with practical advice from a real person who understands the production process. When the clock is ticking, clear information and the right product choice give your labels the best chance of arriving ready to do their job.

Categories
Uncategorized

Custom Labels Australia Made for Real Use

A label has a hard job to do. It might need to survive a school term of washing, help a care-home resident keep track of personal belongings, or give a handmade garment the finished look customers expect. That is why choosing custom labels Australia families and businesses can depend on starts with the job the label must perform, not simply the look of a design.

The right label should be clear, suited to its surface and made for the conditions it will face. A name label for a lunchbox does not need the same material as a woven brand label inside a linen dress. Likewise, a hang tag may only be handled once, while a care label can be washed dozens of times. Getting that distinction right saves time, avoids waste and helps your label do its work from day one.

Custom Labels Australia: Start With the Job

Before choosing a material, think about where the label will go, how often it will be handled and what needs to be communicated. This sounds simple, but it is the point where many orders become more complicated than they need to be.

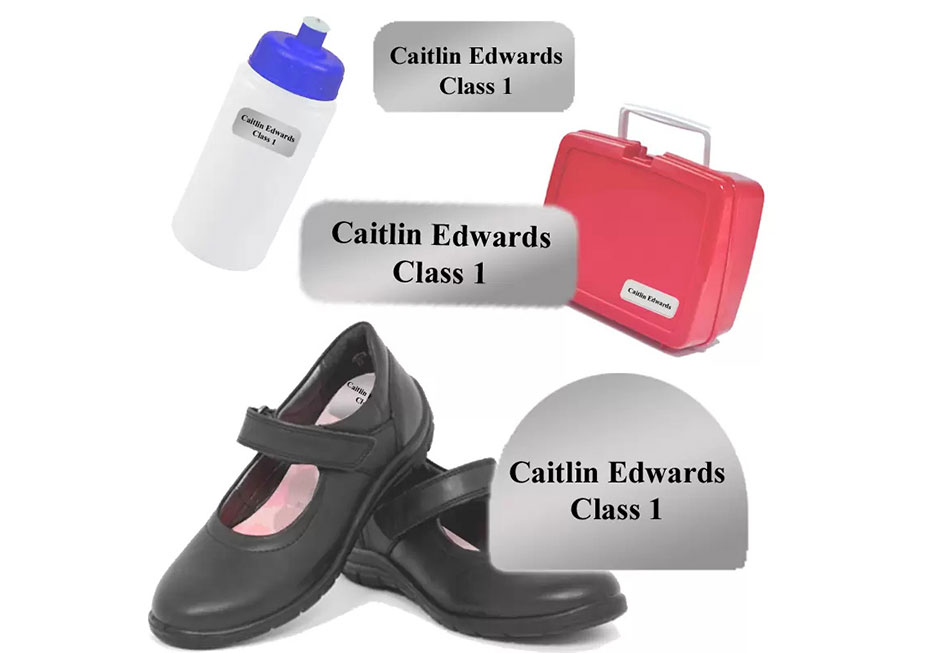
For parents, the main question is usually durability. School uniforms, hats, drink bottles, books and camp gear move quickly between classrooms, playgrounds and laundry baskets. A child’s full name should remain readable after regular use, and the label needs to suit the item rather than peel away or become uncomfortable against the skin.

For clothing makers and designers, branding and garment comfort tend to matter just as much as identification. A woven label can add texture and a professional finish, while a printed care label can fit vital fibre, care and sizing information into a compact space. The best choice depends on the garment’s fabric, the position of the label and the standard you want customers to associate with your brand.

Care-home labels have their own requirements. Clothing and personal items are often washed, sorted and handled in shared facilities, so clear names and reliable adhesion are essential. Large, legible text is generally more useful than an elaborate layout. The purpose is to make everyday organisation easier for residents, families and staff.

Choose a Material That Matches the Conditions

There is no single best label material. There is a right material for a particular application.

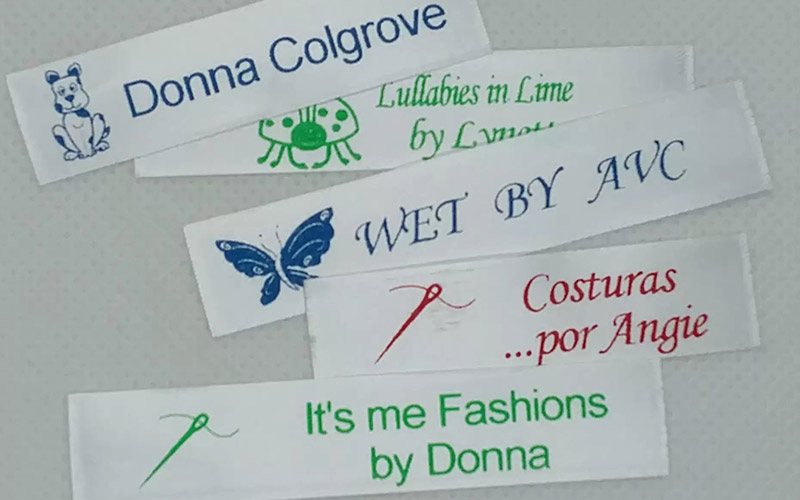
Woven labels are a popular choice for apparel, handmade products and established clothing brands. The design is woven into the label rather than printed on the surface, giving it a detailed, durable finish. They work particularly well for brand names, logos and simple designs that need to look polished over time. Damask-style woven labels offer a smooth, fine feel, while other woven constructions may suit bolder graphics or a more traditional appearance.

Printed labels are often the practical answer when you need more information in a small area. Care instructions, fibre content, sizing, contact details and fine text are easier to reproduce in print. For garments, a soft satin or nylon option may be appropriate, depending on where the label sits and how much washing it will receive. A scratchy label at the neckline can undermine an otherwise excellent garment, so softness is worth considering early.

Cotton labels give a natural, handcrafted feel that suits makers, homewares, artisan goods and products with an organic presentation. PU leather labels can create a premium finishing detail on bags, hats, knitwear or accessories. They are not automatically suitable for every washable item, however, so the intended use should guide the choice.

Tyvek and nylon labels are valued for toughness and practicality. They can be useful where wash resistance, handling or technical product information is the priority. Heat-transfer labels offer a low-profile result because the design is applied directly to the garment or fabric. This can be a useful option for activewear, children’s clothing and items where a sewn-in label would be distracting.

The material should support the product, not compete with it. A delicate baby garment, a workwear uniform and a luxury gift box each call for a different approach.

Make the Design Easy to Read

A custom label is only useful if people can understand it quickly. This is particularly true for name labels, care labels and packaging information.

Start with the information that must be included. For a school label, that may be a child’s name and a parent’s mobile number. For a garment, it may be the brand, size, fibre composition and care symbols. For a hang tag, the logo, product story, price area and barcode placement may all need room.

Avoid trying to fit too much into a small label. Fine lines, tight letter spacing and tiny type can lose clarity, especially on textured woven materials or after repeated laundering. A simpler logo treatment is often more effective than squeezing every brand element into one narrow space.

Colour also needs practical thought. High contrast usually produces the clearest result. Dark text on a light ground, or light text on a dark ground, is easy to identify at a glance. If your brand uses subtle colours, they can still work beautifully, but the final label size and material need to give them enough room to show properly.

If you are ordering labels for the first time, design support is valuable. A small adjustment to font size, border spacing or fold type can make the difference between a label that merely looks acceptable on screen and one that works well in the hand.

Think About Attachment Before You Order

How a label is applied affects which product is right for the job. Sewing, ironing, heat pressing, adhesive application and tagging all have different benefits.

Sew-in labels are a dependable choice for garments, textiles and products that will be washed regularly. They can be folded at the ends, centre folded or supplied as straight-cut labels, depending on where they will sit. A centre fold is common at the back neck of a garment, while end folds can create a neat finish on seams or accessories.

Iron-on and heat-transfer options are useful when speed matters or when sewing is not practical. Parents may prefer them for uniform items, while businesses may use transfers for teamwear or promotional apparel. The trade-off is that correct application matters. Heat, pressure and fabric type all influence the final result, so following the application instructions is essential.

Adhesive labels are ideal for hard, smooth surfaces such as drink bottles, stationery, containers and some personal belongings. They are not a universal substitute for garment labels. Clothing that goes through frequent washing usually needs a label designed specifically for laundry conditions.

Hang tags and tag strings serve a different role again. They do not need to remain with the product forever, but they shape the first impression at the point of sale. The stock, finish, hole position and string choice should feel consistent with the item being sold.

Order Quantities That Make Sense for You

Large production runs can lower the cost per label, but they are not always the sensible choice. A new fashion label may be testing a first collection. A maker may need a modest quantity for market stock. A parent may only need enough name labels to cover the school year. Ordering the right volume matters more than chasing a unit price that leaves you with unused labels in a drawer.

For businesses, consider whether the artwork is likely to change. If care details, sizing, addresses or brand presentation are still being refined, a smaller run can be a safer starting point. Once the design is settled and demand is consistent, larger quantities may offer better value.

It also helps to plan labels as part of the product, rather than as a final add-on. Decide early where they will be sewn, pressed or attached. Check the finished size against the garment or packaging. If you are using multiple components, such as a woven brand label, care label and hang tag, make sure they look like they belong together.

A Direct, Practical Way to Get It Right

Good custom labelling is about practical details handled properly: the right material, a readable design, an attachment method that suits the item and a quantity that fits your needs. Whether you are naming school gear or preparing a clothing range, asking those questions before production makes the result more dependable.

At Woven Labels Direct, labels are made to order and made to last, with help available when you need to compare options or refine a design. The best label is rarely the fanciest one. It is the one that stays put, stays legible and makes the next busy day a little easier.

Categories
Uncategorized

Garment Care Labels That Work Hard After Sale

A beautifully made garment can lose its appeal quickly if the first wash leaves it shrunken, faded, stretched or misshapen. Garment care labels give customers the practical information they need to look after what they have bought, while showing that your brand has considered the product beyond the point of sale.

For an independent clothing label, a home sewist selling small runs, or an established manufacturer, care labels are not an afterthought. They are part of the garment itself. The right label needs to be legible, comfortable, durable and suited to the fabric, construction and customer. Get those details right and your label helps protect both the garment and your reputation.

What garment care labels need to do

At their simplest, care labels explain how a garment should be washed, dried, ironed and cleaned. In practice, they do much more. They help reduce avoidable customer complaints, support correct garment care and make a product feel complete and professionally finished.

A useful care label should answer the questions a customer will have when laundry day arrives: Can this go in the washing machine? Is a cold wash required? Can it be tumble dried? Will a hot iron damage it? Is dry cleaning suitable? Clear answers prevent guesswork, particularly for delicate fabrics, blended fibres, printed garments, embellished pieces and items with special finishes.

In Australia, textile garments generally need permanent care instructions and fibre-content information. The exact requirements can depend on the product and where it is sold, so businesses producing for export or working with specialised textiles should check the relevant current standards for their market. It is worth getting this right before labels are printed, rather than trying to correct a large production run later.

Start with the fabric, not the label design

The best care instruction is not necessarily the most cautious one. A label that says “dry clean only” on a garment that can safely be machine washed may create unnecessary cost and frustration for the customer. On the other hand, overly relaxed instructions can lead to damage, returns and disappointment.

Start by considering the full garment, not just the main fabric. A cotton dress with a delicate lining, a wool knit with a sewn-on badge, or a polyester activewear top with heat-applied print may all need different care advice from the base material alone. Thread, trims, dyes, adhesives, coatings and decorative elements can change what is safe.

Where possible, test a finished sample through the recommended wash process. Check for colour loss, shrinkage, twisting, cracking, puckering and changes to the feel of the fabric. This is especially valuable for small fashion businesses, where a few careful tests can prevent a costly problem once orders start going out.

Choose words, symbols or both

Care symbols are widely recognised and keep a label compact, which is useful on children’s clothing, swimwear, underwear and smaller accessories. Plain-language instructions can be easier for customers who are unfamiliar with symbols. For many garments, using both symbols and short wording gives the clearest result.

Keep wording direct. “Cold gentle machine wash with similar colours” is more useful than vague wording such as “wash carefully”. If there is a specific reason for the instruction, add it where space allows. For example, “Do not iron print” or “Dry flat in shade” can prevent damage that a general wash symbol may not explain.

A care label does not need to carry every possible warning. Too much tiny text is difficult to read and less likely to be followed. Prioritise the instructions that genuinely affect the life of the garment.

Selecting the right material for care labels

Care labels live in a demanding environment. They are exposed to detergent, warm water, friction, dryers and repeated wear. A low-cost label that becomes scratchy, curls at the edges or fades after a few washes can undermine an otherwise high-quality item.

Printed satin is a popular choice for garment care labels because it has a soft feel and gives fine text and symbols a clean finish. It works well for fashion garments, lingerie, babywear and products where comfort against the skin matters. Satin can be folded into a seam or used as a centre-fold label, depending on the look and information required.

Nylon and Tyvek-style materials are often chosen when durability is the priority. They are practical for workwear, uniforms, outdoor garments, bags and items likely to face frequent hard washing. Cotton labels can suit natural, handmade or heritage-style products, although the print method and wash requirements need to be matched carefully to ensure long-term legibility.

The right choice depends on the garment. A soft satin label may be ideal in a blouse but less suitable for a heavily used tool bag. A tougher nylon label may suit a school sports uniform, yet feel too firm inside a delicate infant garment. The right labels for the right job balance comfort, durability and presentation.

Make the information easy to find and read

Label placement affects whether customers use the information at all. Common placements include the back neck, side seam, waistband and inside pocket. The best location depends on the garment style and what the label contains.

A back-neck label is easy to locate, but it may irritate some wearers if the material or cut edge is too firm. A side-seam label can be more comfortable and gives room for longer care instructions, though customers may need to look a little harder to find it. Some brands separate their branded size label from the care label, while others combine key information in one folded label to reduce bulk.

Text size needs particular attention. Small labels naturally limit space, but instructions should still be readable without a magnifying glass. Choose a clean typeface, strong contrast and sensible spacing. Dark text on a pale label is usually easy to read, while pale ink on a busy background often looks stylish in a proof but performs poorly in real use.

Before approving production, ask to see the label at its actual finished size. A design that looks clear on a computer screen can become crowded once reduced to 25 mm wide.

Common mistakes that cost brands later

The most frequent problem is treating care labels as a final packing detail. By that point, fabric choices and garment construction are already fixed, and there may be little time for testing or revisions. Planning label requirements alongside your main garment labels and hang tags keeps the finish consistent and avoids rushed decisions.

Other avoidable mistakes include using generic instructions for every product, choosing a material that feels uncomfortable, omitting information after a design change, or ordering too few labels for a production run. It is also easy to forget that children’s garments, workwear and heavily washed items place greater demands on label durability.

For small runs, it can be tempting to use one standard care label across a whole collection. That can work when fabrics and construction are genuinely similar. If one piece contains wool, another is a cotton blend and a third has a heat-sensitive print, separate labels are usually the safer and more customer-friendly option.

Build care labels into your brand presentation

Care labels may be small, but they are a regular point of contact between your customer and your brand. A neat, well-made label says the garment was made with care. A faded or uncomfortable one sends the opposite message, even if the garment itself is excellent.

Keep your branding label, size label, care label and hang tag visually consistent where it makes sense. That does not mean every label needs a logo. It means the materials, print quality and overall finish should feel considered. For businesses ordering made-to-order labels, a little design assistance at the start can save time and waste later.

Woven Labels Direct helps Australian makers, clothing businesses and designers choose durable, practical labels in quantities that suit their production needs. Whether you are preparing a first small collection or replenishing labels for regular runs, clear artwork and the right material make the ordering process far more straightforward.

The label your customer reads after the first wash is one of the last chances your garment has to prove its quality. Make it comfortable, make it clear and make it made to last.

Categories
Uncategorized

Custom Woven Patches That Hold Up and Stand Out

A patch has to work harder than a logo on a screen. It needs to look sharp at arm’s length, stay attached through regular wear and washing, and represent your club, business or creative work properly. Custom woven patches are a practical choice when fine detail, clean lettering and a polished finish matter.

They suit everything from fashion garments and staff uniforms to scout groups, sporting teams, caps, bags and limited-run merchandise. The best result comes from matching the patch construction, size and backing to where it will be used – rather than choosing a style on appearance alone.

Why choose custom woven patches?

Woven patches are made by weaving fine threads together to create the design. Unlike embroidered patches, which build an image with raised stitching, a woven patch has a flatter surface and can reproduce smaller text, narrow lines and detailed artwork more clearly.

That makes woven patches especially useful for brand marks with fine lettering, detailed icons, dates, web-style text or layered colours. A small fashion label sewn inside a jacket, for example, often benefits from a woven finish because it remains easy to read without feeling bulky. On the other hand, if you want a bold, textured badge with highly visible raised thread, embroidery may be the better fit.

Neither option is automatically better. It depends on the design, the size of the patch and the final garment or item. A simple, large logo can look excellent in either style. A detailed crest at a small size will generally be clearer when woven.

Start with where the patch will go

Before deciding on colours or edges, think about the item and the job the patch needs to do. A patch for a work polo, school bag or team jacket may see regular washing, friction and outdoor use. One for a boutique garment may need to complement a fine fabric and feel comfortable against the wearer.

For uniforms and outerwear, patches are often placed on the chest, sleeve or shoulder. These areas are visible but can move and stretch, so a secure sewing option is usually sensible. Patches for caps, backpacks and luggage need a backing that can cope with thicker materials and everyday handling.

Garment branding calls for a different approach. A small woven patch on a hem, pocket or outer neck can add a professional signature without overwhelming the design. If it will sit inside a garment, consider the wearer’s comfort and avoid a backing that feels stiff or scratchy against the skin.

A clear purpose also helps determine the right size. A patch that looks generous on a desktop proof may become difficult to read once reduced to 35 mm wide. For detailed logos, allowing a little more room can make a significant difference to legibility.

Getting the artwork ready

Good artwork gives your patch maker a reliable starting point, but it does not need to be production-perfect. A high-resolution logo, clear PDF, vector artwork or even a well-lit image of an existing badge can be enough to begin a conversation.

The key information is the wording, intended colours, approximate size and final use. If an exact brand colour is essential, provide the relevant colour reference where possible. Thread colours are selected to create the closest practical match, but thread and digital ink do not reflect light in exactly the same way. A sensible adjustment may be needed to make the finished patch look right in real life.

Fine details deserve an honest review before production. Very thin lines may need to be thickened, tiny gaps may need to be opened up, and small lettering may need to be enlarged or simplified. This is not a compromise in quality. It is how a design is adapted for a durable textile product that will be handled, bent and washed.

Keep text easy to read

Text is one of the biggest reasons customers choose woven over embroidered patches, but it still has limits. Short names, initials and simple messages reproduce best. If a design includes a long slogan, committee list or several dates, increasing the patch size is usually preferable to squeezing everything in.

Use strong contrast between the lettering and background, too. Dark navy text on black may look suitably subtle on a screen, but it can disappear on a moving garment. Clear contrast makes a patch more useful and gives your brand a cleaner finish.

Choose the right shape and edge

Custom woven patches do not have to be rectangular. Circles, shields, ovals, rounded rectangles and contour-cut shapes can all help the patch suit the logo or application. A simple shape is often the most versatile for uniforms and repeat orders, while a distinctive contour shape can give merchandise a more considered look.

The edge matters as much as the outline. A merrowed border creates the familiar raised overlocked edge seen on many badges. It is durable and works particularly well on straightforward shapes such as circles, rectangles and shields. A heat-cut edge has a flatter, cleaner appearance and is better suited to detailed or unusual outlines.

For a premium garment patch, a flat edge may be the natural choice. For a club badge that will be worn outdoors and handled often, a merrowed edge can offer a traditional, hard-wearing finish. Looking at the design and fabric together is the easiest way to decide.

Backing options change how a patch performs

A beautiful patch is of little value if it will not stay in place. The backing should be chosen around the attachment method, fabric type and expected use.

Sew-on patches are a dependable option for garments, bags and uniforms. Stitching gives a secure result and makes it easier to replace or reposition the patch later. It is a good choice for items that will be laundered regularly or used heavily.

Iron-on backing can be convenient for suitable fabrics, particularly when a quick application is useful. It is not ideal for every material, however. Some technical fabrics, heavily textured items and heat-sensitive garments may not bond well or may be damaged by heat. Even with an iron-on backing, stitching around the edge can add valuable security for frequently washed items.

Hook-and-loop backing suits applications where patches need to be changed, such as workwear, tactical gear, club roles or event uniforms. Adhesive-backed patches can help with short-term placement or display, but they are generally not the first choice for long-term wear or repeated washing.

Plan quantities without over-ordering

Small runs are useful when you are launching a new label, testing merchandise or ordering for a limited event. Larger quantities usually offer better unit value, which can make sense for established uniform programs, ongoing retail lines or annual club orders.

The right quantity is not always the lowest per-patch price. Ordering far more than you can use ties up money and storage space, particularly if your logo, contact details or garment range may change. For a new business, a smaller first run can be a sensible way to check scale, colour and placement before committing to a larger reorder.

For repeat products, keep a copy of the approved artwork, dimensions and colour choices. Consistency matters when patches are attached to garments produced months apart. It also makes reordering simpler and helps your branding stay recognisable.

Common uses beyond uniforms

Custom woven patches are not limited to team jackets and work shirts. Makers use them to finish handmade bags, quilts and aprons. Fashion businesses add them to hems, denim, beanies and outerwear. Community groups use patches for volunteer clothing, commemorative events and fundraisers.

They also work well on promotional products when the patch becomes part of the item’s appeal. A woven patch on a cap, tote or canvas pouch can feel more permanent than a printed logo, particularly when the design has strong colour and clear detail.

For family or school uses, consider whether a patch is the right identifier. A named patch can be useful on a bag, jacket or sports item, while a smaller name label may be more practical for uniforms, shoes and everyday belongings. The right labels for the right job usually save time and prevent lost property.

A better result comes from asking practical questions

The most effective patch orders begin with a few straightforward decisions: Where will it be attached? How large does it need to be? Will it be washed often? Is fine text essential? What fabric will it sit on?

At Woven Labels Direct, made-to-order support means those details can be considered before production, whether you need a small run for a new clothing range or a larger order for uniforms and merchandise. A patch should not merely carry your name. It should keep looking good after the first event, the first wash and plenty of use.

Categories
Uncategorized

Personalised Luggage Straps That Travel Well

The baggage carousel is not the place to discover that half the passengers on your flight own the same black suitcase. Personalised luggage straps give your bag a clear point of difference before it reaches the carousel, while adding an extra layer of identification for trips where bags are handled, stacked and moved often.

For families, group travellers and frequent flyers, a luggage strap is more than a colourful extra. It helps everyone recognise the right bag quickly, keeps a suitcase more secure when it is packed tightly, and provides space for useful details that are easy to read. The best choice is one that is made for real travel – not just one that looks good in a holiday photo.

Why personalised luggage straps earn their place

A suitcase tag can be useful, but it is small and can be tucked behind another bag or caught underneath a handle. A personalised strap wraps around the entire case, making it far easier to recognise from several metres away. This matters when children are collecting their own belongings after camp, when a sports team is travelling together, or when a family has several similar cases in the car boot.

The strap also offers a practical backup if an ordinary luggage tag tears away. A name, business name or short identifying message printed clearly across the strap remains visible without putting personal details on display. For most travellers, a surname and mobile number is enough. If you prefer more privacy, use a first name, family name and postcode, then keep full contact information inside the case.

There is a security benefit too, although it should be viewed realistically. A sturdy strap may help keep a bulging suitcase closed if a zip gives way, but it is not a replacement for a sound suitcase, a proper lock or careful packing. Think of it as useful reinforcement and fast identification, rather than a guarantee against damage or interference.

Choosing personalised luggage straps for the job

The right strap depends on how, where and how often it will travel. A light strap for an occasional weekend away has different demands from one used on interstate flights, school camps or regular business travel.

Start with durable webbing and reliable adjustment

Look for a strap material designed to cope with rubbing, pulling and repeated handling. Nylon webbing is a popular choice because it is strong, lightweight and practical for frequent use. The adjustment mechanism should move easily when you are fitting the strap, then hold firmly once tightened around the suitcase.

A strap that is too loose can slide off corners or get caught during baggage handling. One pulled excessively tight can put unnecessary pressure on zips and hard-case shells. Fit it snugly around the widest section of the suitcase, checking that the buckle sits flat and does not interfere with the retractable handle or wheels.

For a family with cases in several sizes, adjustable straps are the sensible option. They can move from a cabin bag to a larger checked suitcase when travel plans change. This also makes them useful for storing a packed bag at home or securing a rolled sleeping bag for a camp trip.

Make the wording easy to read at a glance

Personalisation works best when it is simple. Long messages, tiny lettering and busy artwork can be difficult to read when a bag is moving along a carousel. A bold name or family name, set against a contrasting strap colour, is usually the most effective approach.

Consider who needs to identify the bag. A child travelling to camp may benefit from their full name in large type. A family sharing luggage might use a surname followed by a simple marker such as “Blue Case” or “Holiday Gear”. For work travel, a business name can create a tidy, professional look while helping colleagues identify equipment cases at an event or trade show.

Avoid including information that could make a bag an easy target, such as a home address. Your mobile number is often more helpful than an address anyway, because it allows an airline, hotel or fellow traveller to contact you quickly if your case is misplaced.

Choose colour for visibility, not just preference

Black luggage is popular because it hides scuffs, which is exactly why so much of it looks alike. A bright or distinctive strap gives a plain suitcase character without requiring you to buy a new case. High-contrast colour combinations generally perform best: dark lettering on a light strap, or light lettering on a dark strap.

That said, visibility is not only about bright colours. If every member of a tour group has a fluorescent strap, a distinctive wording layout becomes more valuable. Families can assign each person a different colour, while keeping the same surname and typeface across the set. It is a small system that makes busy travel days less confusing.

Personalised luggage straps for family, camp and group travel

Parents often spend time labelling school uniforms, water bottles and camp gear, then forget the suitcase itself. A clearly marked luggage strap helps children recognise their own bag at the coach, airport or camp drop-off point. It can also reduce the chance of two identical navy cases being taken to the wrong cabin.

For camp, keep the design straightforward. Use the child’s name in a legible size and choose a strap they can describe easily if a staff member is helping locate their belongings. If the case will travel in a coach luggage compartment, a strap is especially useful because bags are often loaded quickly and retrieved in groups.

Group travel creates a different challenge: everyone may need matching luggage for a school tour, sporting club, dance group or work event. Consistent personalised straps make collection and distribution quicker, particularly when equipment bags and personal cases arrive together. Adding an individual name to each strap avoids confusion while maintaining a coordinated appearance.

They can also be a thoughtful practical gift. A personalised travel strap suits a newlywed couple planning a honeymoon, grandparents heading on a cruise, a student leaving for a gap year, or a family preparing for their first big overseas holiday. Unlike novelty travel items, it will be used long after the trip is over.

Check the strap before you check the bag

Take a minute to fit a new strap at home rather than at the airport kerb. Put the case on a flat surface, close and lock it as you normally would, then position the strap around the middle. Tighten it until it sits securely without bending the case or distorting the zip line.

Make sure the personalised section faces outward and is not hidden by the handle. If your suitcase has an expansion zip, decide whether you will travel with it expanded before fitting the strap. Adjusting it later is easy, but doing a quick test prevents a loose fit on departure day.

It is also worth checking the airline rules for your journey, particularly if you are travelling internationally. Some security inspections may require a bag to be opened, and a strap can be removed during the process. Keep a standard luggage tag attached as well, with your contact details protected where possible. The strap improves identification, but a layered approach is always wiser.

At Woven Labels Direct, the focus is on practical custom products that are made to order and made to last. A well-made personalised strap should be easy to order, easy to read and ready for the rough-and-tumble of travel without adding unnecessary cost.

The most useful travel accessories are the ones that solve a problem before it becomes stressful. Choose a personalised luggage strap with clear wording, durable material and a colour you can spot instantly, then your suitcase will be far less likely to disappear into a sea of lookalikes.

Categories
Uncategorized

Custom Hang Tags That Make Products Look Finished

A garment can be beautifully made, a candle can smell exceptional, or a handmade gift can be packed with care – but without the right finishing touch, it may still look unfinished on the shelf or at a market stall. Custom hang tags give customers an immediate sense of who made the item, what it is and why it is worth choosing. They are a small detail with a very visible job.

For Australian fashion labels, makers and small businesses, hang tags are also practical. They can carry sizing, pricing, care notes, product stories, contact details or a simple thank you. The best result is not always the biggest tag or the most elaborate design. It is the tag that suits the product, reads clearly and feels right in the customer’s hand.

What custom hang tags do for your product

A hang tag is often the first branded piece a customer sees before they try on a garment, unwrap a gift or inspect a handmade item. Unlike a sewn-in label, it has room to introduce the product without adding bulk to it. It can explain the fabric, show a price, identify a collection or reinforce the personality behind the brand.

For a new clothing label, that might mean a clean logo on the front and fabric composition, size and care information on the reverse. For a market maker selling candles, soaps or knitted goods, it may be a short product description and a way for customers to find them again. For personalised gifts, a neatly printed tag can turn simple wrapping into something considered and ready to give.

Hang tags also help where products are handled by several people before sale. Clear sizes, style names or stock codes make it easier to organise stock, pack online orders and restock a display. If you sell through boutiques or attend busy markets, those operational details can save time as well as improve presentation.

Start with the job your hang tag needs to do

Before choosing a shape, paper stock or string, decide what the tag needs to achieve. A tag intended for a premium linen dress has different requirements from one used on children’s craft kits or handmade pet accessories.

If branding is the priority, a smaller tag with a strong logo, restrained colour palette and quality finish may be enough. If the customer needs product information before buying, allow more space for readable copy. Trying to fit a full brand story, a care guide, a barcode and a large logo onto a tiny tag usually creates clutter rather than value.

It also helps to think about where the tag will sit. A tag attached to a neckline needs to be light enough not to pull the garment out of shape. One tied around a jar, bottle or gift box needs a hole position that works with the packaging. For soft goods such as scarves, babywear and knitwear, smooth edges and suitable string choices help prevent snagging.

Match the size to the product

A small rectangular tag is a reliable choice for many garments and accessories because it is easy to read, pack and attach. Square tags can feel modern and balanced on boutique packaging, while a longer tag can suit product details, care instructions or a vertical logo.

Larger is not automatically better. Oversized tags can overwhelm delicate jewellery, children’s clothing or small handmade pieces. Conversely, a tiny tag may be difficult to read if you need to include mandatory fibre content, care information or retail details. Ask for a size that gives the design breathing room without taking attention away from the product itself.

Choose material and finish with handling in mind

The material sets expectations before a customer reads a word. A heavier card stock generally feels more substantial and works well for fashion, giftware and artisan products. Recycled or natural-looking card can support an earthy, handmade presentation. Smooth stock and crisp printing may suit contemporary clothing brands or formal occasionwear.

A simple uncoated finish is often the sensible choice when you want a natural look or need to write prices by hand. A more polished finish can lift a logo or colour artwork, but it may not suit every brand. The right choice depends on your product price point, packaging style and how often the tag will be handled.

Remember that hang tags are not designed to survive repeated laundering. If identification needs to stay with a garment through washing and wear, use a suitable sewn-in, printed or heat-transfer label as well. A hang tag and a care label often work best as a pair: one supports the sale, while the other stays with the item.

Make the information easy to find

Customers should not need to turn a tag over three times to find the size or price. Put the information people need most where it is easy to spot, and use a clear type size. Fine decorative fonts may look attractive on a screen but can become hard to read once printed at a small scale.

A useful arrangement is to keep your logo and product name on the front, then use the reverse for practical details. Depending on the product, this may include size, materials, care guidance, a style code, price or a short message about the maker. Not every tag needs every item.

For clothing and textiles, be careful not to rely on the hang tag for information that should remain with the garment. A customer may remove and discard it as soon as they get home. Permanent care and fibre information belongs on an appropriate garment label where needed.

If you are adding a QR code, test it from a printed proof rather than judging it only on screen. It needs enough contrast, a practical size and a quiet area around it to scan properly. It should add a useful next step, such as product care, a collection page or social details, rather than replace essential printed information.

Strings, holes and attachments are part of the design

The tag is only half the finished piece. String colour, thickness and fastening method affect how it looks and how quickly your team can attach it. Natural twine may suit a rustic or handmade range, while black, white or coloured string can create a tidier retail finish. Elastic loops can be handy for garments and products that need quick attachment without tying knots one by one.

Hole placement matters more than it seems. A centred hole at the top is versatile, but a corner hole can make a tag sit neatly on some products. Consider whether it will hang from a buttonhole, a safety pin, a ribbon, a garment loop or packaging. A well-designed tag can still look awkward if the attachment point has not been planned.

For items that may be handled frequently in store, choose an attachment that stays secure but is easy for the customer to remove. Avoid rough, overly bulky string on fine fabrics. For children’s products, keep safety and age suitability in mind when selecting any attachments.

Prepare artwork that prints cleanly

Good print results begin with artwork prepared for print, not just for a phone screen. Logos should be supplied in a high-quality format where possible, and small text needs enough weight and contrast to remain sharp. If your design includes pale colours, fine lines or edge-to-edge printing, ask how those choices will reproduce on the selected stock.

Keep important text and logos away from the trim edge and hole area. A hole punched through a business name, care symbol or artwork is an expensive mistake to discover after production. It is also worth checking spelling, phone numbers, product codes and social handles carefully before approval. Hang tags are small, but errors are very noticeable when repeated across an entire run.

For first-time brands, it can be sensible to order a manageable quantity rather than committing to a large run before your packaging, pricing or collection details are settled. Once the layout is proven, repeat orders become straightforward. This is particularly useful for makers testing seasonal products, new sizing ranges or limited collections.

A practical finish for small runs and growing brands

You do not need a large fashion house budget to present products professionally. A simple, well-made tag with clear printing and the right string often does more for a brand than an overdesigned option that does not suit the product. Focus first on legibility, sensible material choices and a design that looks consistent with your labels, packaging and product photography.

At Woven Labels Direct, custom work is made to order and made to last, with practical support for customers who know exactly what they need and those still working through the details. Small runs can be just as important as larger production orders when every item carries your name.

Before placing an order, lay a sample product, its packaging and your proposed tag design together on a table. If the tag looks natural there, feels good in the hand and tells the customer what they need to know, you are on the right track.

Categories
Uncategorized

Heat Transfer Labels for Clothing That Last

A printed neck label that scratches, curls or fades can make an otherwise well-made garment feel like a shortcut. For clothing brands, schoolwear suppliers, makers and sports teams, heat transfer labels offer a clean alternative: the design is applied directly to the fabric, without the bulk of a sewn-in label.

They are also a practical choice when the label needs to carry more than a brand name. Care instructions, fibre content, sizing, team details and simple logos can all be incorporated into one flat application. The best result comes from matching the label material and application method to the garment, rather than treating every fabric the same.

What Are Heat Transfer Labels?

Heat transfer labels are printed designs that bond to a garment using controlled heat, pressure and time. Once applied correctly, the label becomes part of the garment surface. There are no stitched edges, no loose threads and no separate tag to cut out.

This makes them especially useful for inside neck areas, activewear, underwear, baby clothing and other garments where comfort matters. They can also work well on workwear, promotional apparel and uniforms where a crisp logo is wanted without adding a woven label.

The word “heat transfer” covers several production methods and films, so the right option depends on the job. Cotton tees, polyester sports polos, stretchy leggings and coated fabrics all react differently to heat and adhesives. A label designed for one may not be the sensible choice for another.

Where Heat Transfer Labels Work Best

For a fashion label, a heat transfer is often chosen as a neck label replacement. It keeps the inside of the garment tidy and allows branding, size and care information to sit in one place. It is particularly helpful on lightweight fabrics where a woven label may show through or feel too heavy.

For sports clubs and activewear businesses, transfers suit performance garments because they remain flat against the body. Polyester and technical fabrics need extra care, however. Some dyes can migrate into light-coloured prints during heating or over time, so the transfer type must be selected with the fabric in mind.

For small makers, they can provide a professional finish without committing to a large woven-label run. A simple logo transfer on handmade apparel, dancewear or merchandise can make the product look consistent while keeping the label low-profile.

Parents usually need a different solution. Heat transfers can identify items such as camp shirts, sports uniforms and hats, but an individual name label must suit the item and be applied properly at home. If speed is the priority for a pile of school uniforms, the most suitable label is the one that will be easy to read and stay put through repeated washing, not necessarily the one with the most elaborate design.

Choosing the Right Heat Transfer Label

Start with the garment itself. Ask what it is made from, how it stretches, whether it has a coating, and how it will be washed. Cotton and cotton blends are generally straightforward. Polyester requires a lower-temperature approach in many cases, while nylon, waterproof fabrics and heavily textured materials can need a specialised solution or a different label altogether.

Next, consider what the label needs to say. A logo alone gives you more freedom with size and placement. A combined brand, size and care label needs text that remains legible after production and application. Very fine type, pale ink on a pale garment, or an overcrowded design may look sharp on a screen but be difficult to read on fabric.

Colour also deserves attention. White artwork is popular on dark garments, while black is a classic choice for light garments. For coloured fabrics, test contrast rather than relying on a logo file alone. Fabric texture and garment colour can change the way a print appears.

Durability requirements should be clear from the outset. A boutique tee worn occasionally and a hospitality uniform washed every week are not the same job. If a garment will face commercial laundering, regular tumble drying or hard wear, say so when discussing the order. The label specification should reflect the real use of the item.

Finally, think about order size and repeatability. A carefully stored artwork file, confirmed dimensions and recorded garment details make reordering far easier. This matters to growing labels that may need the same neck print across several seasonal runs.

Preparing Artwork and Label Details

Good artwork does not have to be complicated, but it does need to be usable. A high-resolution file is better than a small screenshot or a blurry image pulled from social media. Vector artwork is ideal for logos because it can be scaled cleanly, while clear PNG or PDF files may also be suitable depending on the design.

Keep the design purposeful. A neck transfer has limited space, so establish a clear order of information. Usually the brand is most prominent, then size, then any necessary care or fibre details. If legal garment information is required, make sure it is accurate before production begins. Changing it after labels are made is an expensive mistake.

It helps to provide the intended label size and garment placement. A transfer that looks balanced at 70 mm wide on an adult sweatshirt may overwhelm a child’s tee. Likewise, a design placed at the back neck needs different proportions from a logo intended for a sleeve or chest.

If you are unsure about sizing, fabric suitability or the best way to arrange the information, ask before approving the order. Hands-on design help is often the difference between a label that merely fits and one that looks properly considered.

Applying Heat Transfer Labels Correctly

Application is where a well-produced transfer can succeed or fail. Follow the supplied instructions for temperature, pressure and pressing time. These settings work together. Turning up the heat to save time can damage fabric or adhesive, while light pressure may leave an incomplete bond.

A heat press gives the most consistent result for business orders because it applies even pressure across the design. A household iron can be suitable for some personal labelling jobs, but it is less precise. Steam should generally be switched off, and the iron needs to stay still rather than moving back and forth as though ironing a shirt.

Before pressing a full run, test one label on an offcut or spare garment where possible. Check for scorching, shine, dye movement and incomplete adhesion. Let the test cool as instructed, remove the carrier sheet in the correct way, then inspect the edges closely. A label can appear attached at first but lift after washing if the bond was not complete.

After application, allow the garment to rest before its first wash if the instructions call for it. Washing inside out and avoiding unnecessarily harsh heat will help preserve the print. This is not a substitute for using the right transfer in the first place, but sensible garment care supports a longer-lasting result.

When Another Label Type May Be Better

Heat transfers are not automatically the best answer. A woven label may better suit premium outerwear, bags or garments where a tactile brand detail is part of the look. Cotton, satin or printed care labels can be more appropriate where detailed instructions must be read easily and the garment has room for a sewn-in label.

For school items, a ready-to-apply name label may be a simpler choice than a custom branded transfer. For hard luggage, drink bottles or other non-fabric belongings, a label made specifically for that surface will be more dependable. The right labels for the right job usually cost less than replacing labels that were never suited to the item.

At Woven Labels Direct, every order is made to order and made to last, with practical support available from the same person from start to finish. That means you can discuss the garment, artwork and intended use before production, whether you need a small run for a new clothing label or repeat branding for a larger range.

A label should do its job quietly: stay comfortable, remain clear and make the garment feel finished. Choose for the fabric and the real-life wash cycle, and that small detail will keep working long after the first wear.

Categories
Uncategorized

How to Label School Uniforms So They Stay Found

A navy jumper, a broad-brim hat and a pair of black school shoes can look identical in a crowded lost-property box. Learning how to label school uniforms properly is one of those small back-to-school jobs that saves a surprising number of replacement purchases, morning searches and frantic calls to the school office.

The best label is not simply the one with your child’s name on it. It needs to suit the item, remain readable after regular washing and be placed somewhere staff can find it quickly. A label that peels away after two washes, or sits where it rubs against a child’s skin, is not doing its job.

Start with the name details that matter

For most school items, a first name and surname are the clearest choice. A common first name on its own can create confusion, particularly in larger schools. Adding a surname gives teachers and lost-property volunteers a much better chance of returning an item to the right family.

Some parents prefer to include a class, year level or mobile number. This can be useful for camps, sports carnivals and excursion gear, but think about privacy before putting contact details on the outside of a bag or hat. A practical middle ground is to use the child’s full name on clothing and shoes, then add a phone number only to items that travel further afield, such as luggage, sports bags or camp equipment.

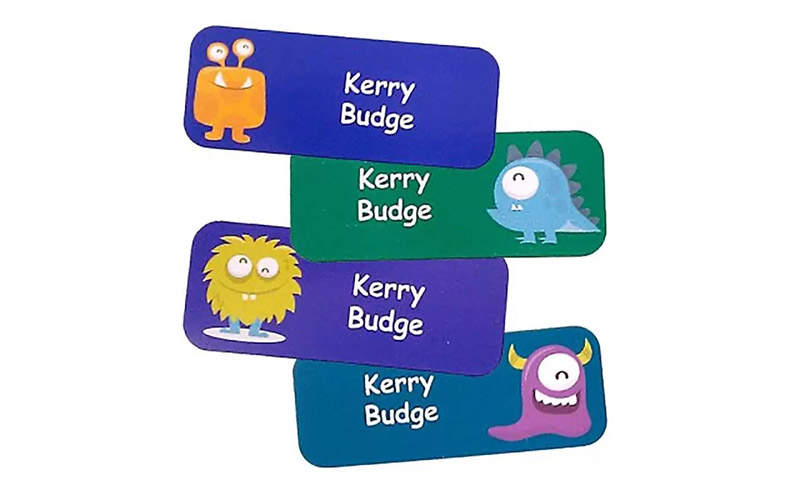
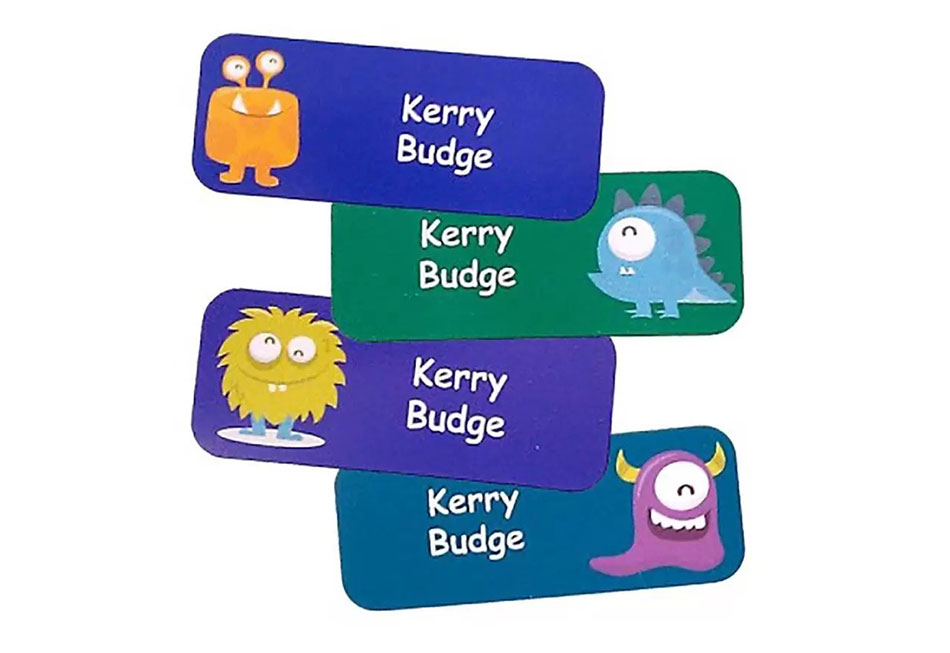
Keep the text easy to read. High contrast, a sensible font size and enough space around the lettering all matter more than a complicated design. For younger children, a small icon or colour marker beside their name can help them recognise their belongings, while the written name remains clear for adults.

Choose the right school uniform label for each item

There is no single best method for every uniform piece. The right labels for the right job depend on fabric, washing frequency, how much wear the item gets and whether you need a temporary or long-term solution.

Iron-on and heat-transfer labels for clothing

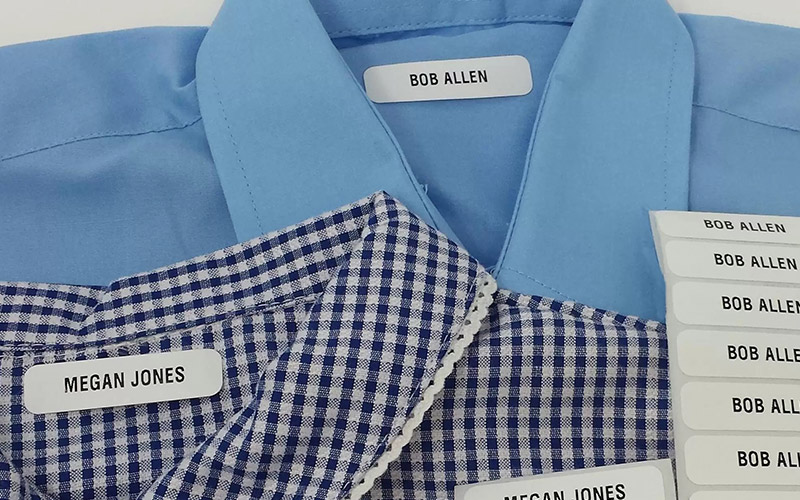
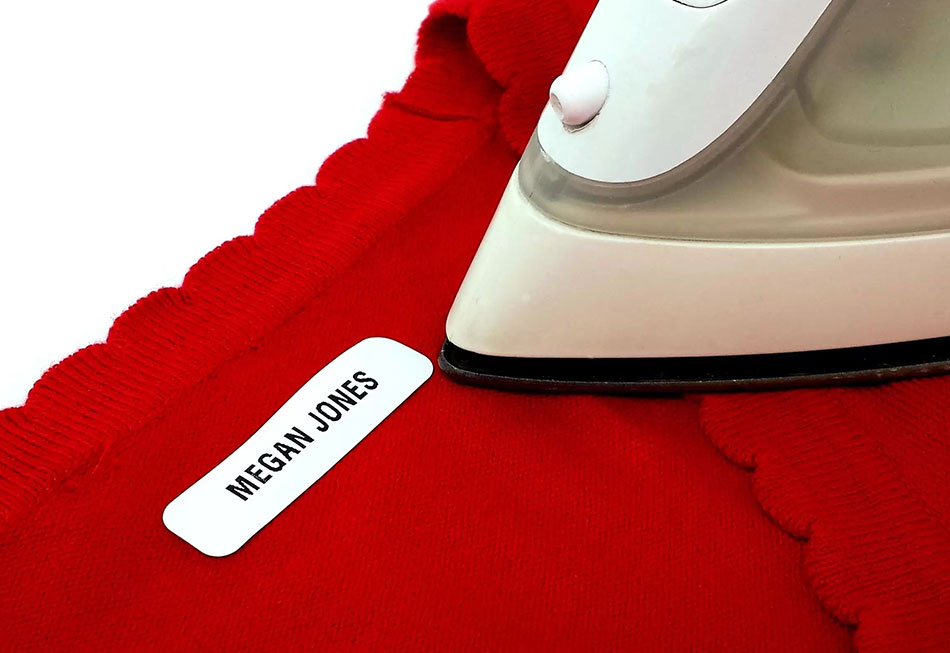
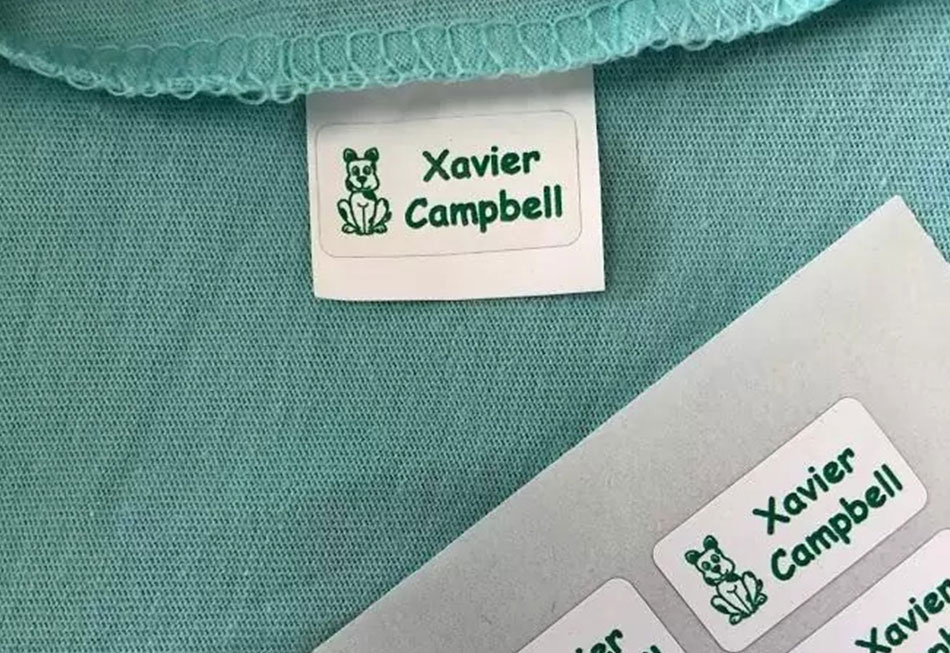
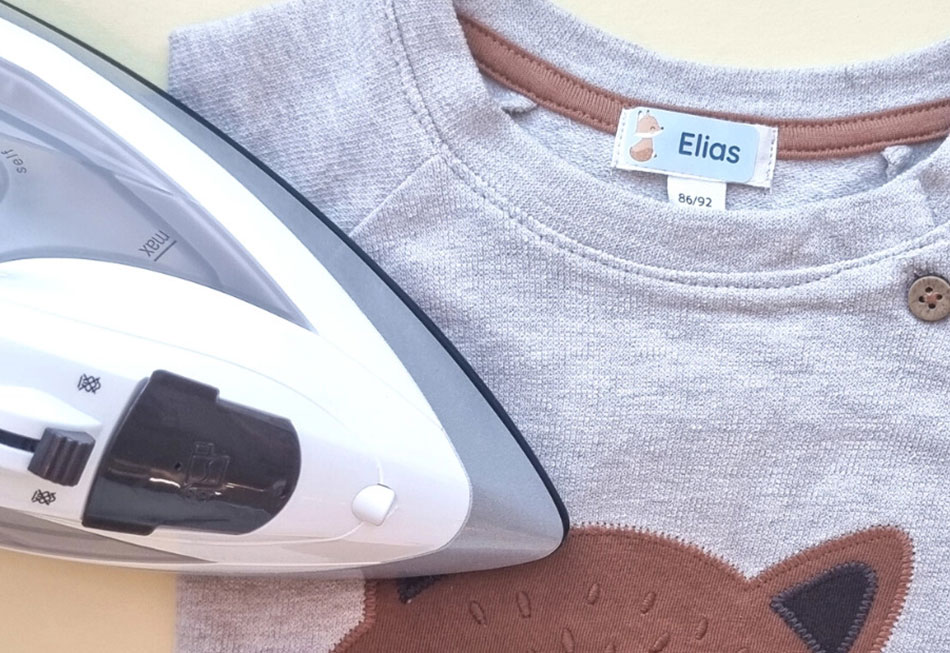
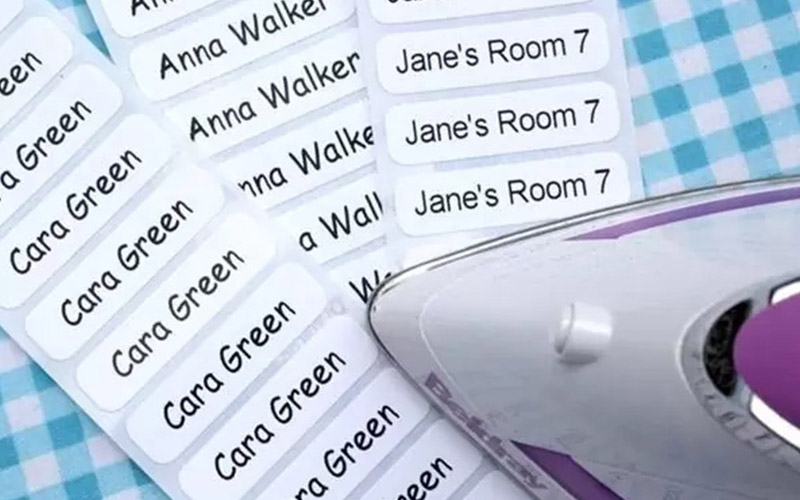
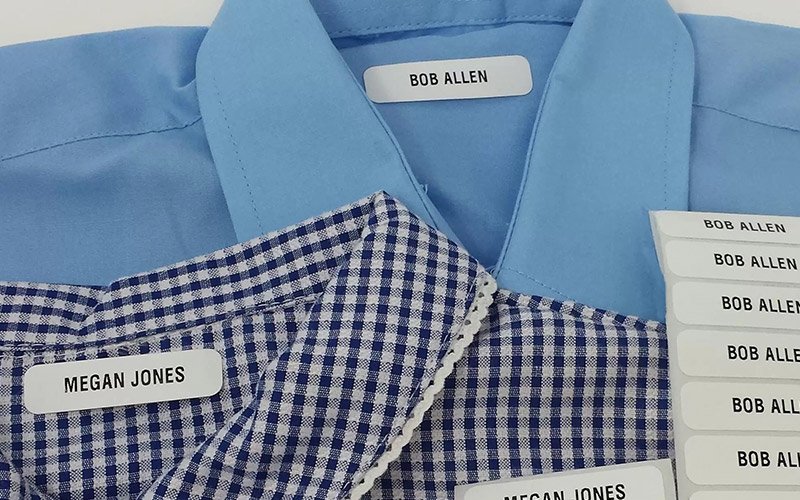
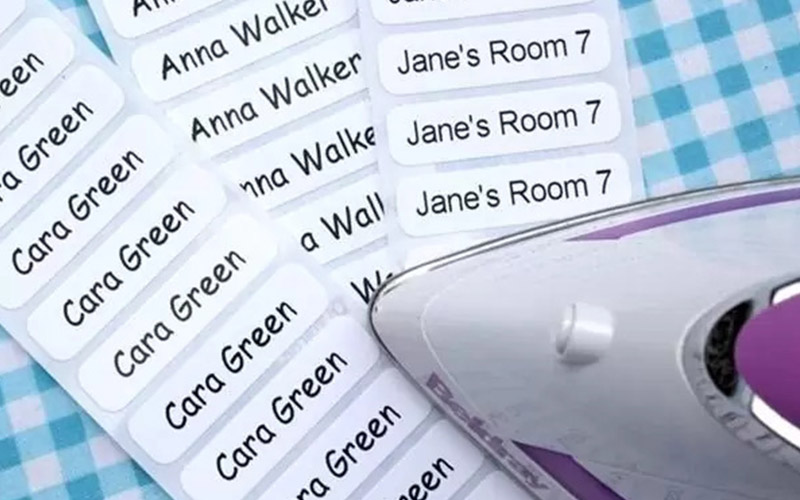
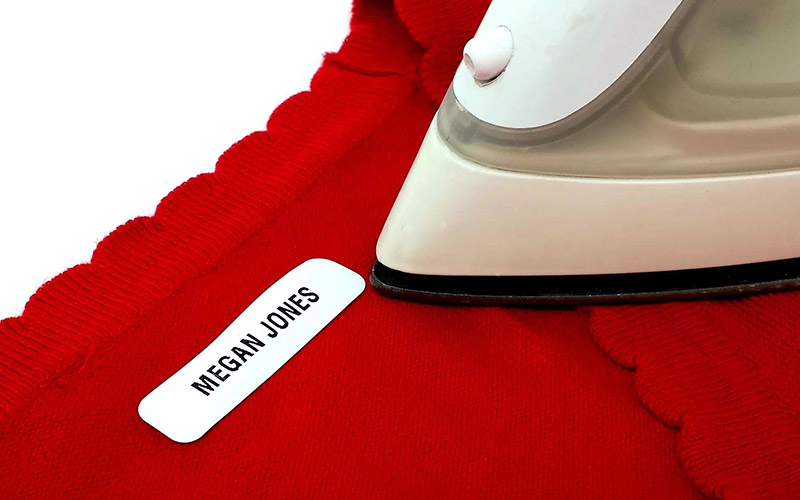
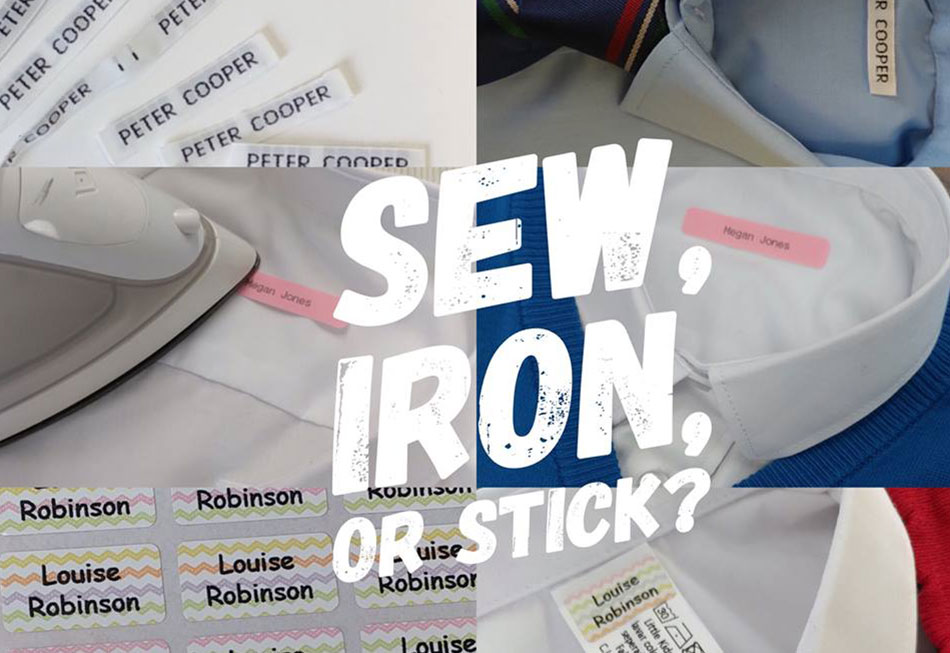
Iron-on or heat-transfer name labels are a popular option for polo shirts, jumpers, dresses, shorts, socks and school jackets. Applied correctly to a smooth, dry fabric, they sit flat and can handle the repeated laundering school uniforms receive.

Always follow the application instructions, particularly the recommended heat and pressing time. A warm iron that is not hot enough, or a label applied over a seam, can reduce its hold. Choose a flat area inside the garment, such as the care-label area or lower back neck, rather than a spot likely to stretch or rub.

Heat-transfer labels are especially useful when the original garment tag is small, scratchy or likely to be cut out. They can also look neat on second-hand uniforms, where a previous owner’s name may need to be covered.

Sew-in woven or printed labels for long-lasting uniform pieces

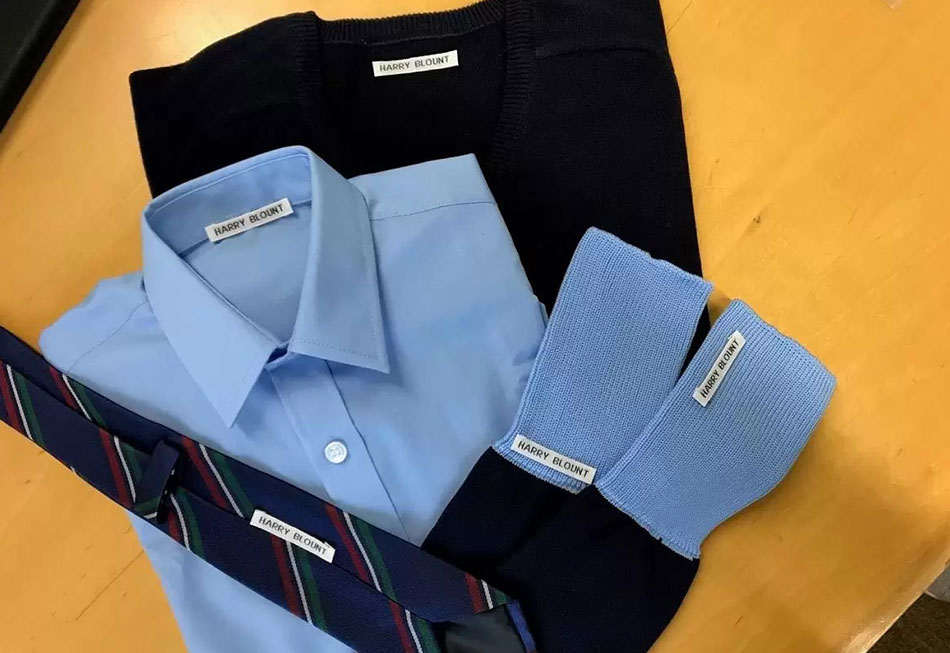
For blazers, formal dresses, expensive knitwear and hand-me-down items, sew-in labels offer a dependable, long-term result. Woven labels are made to order and made to last, with a tactile finish that suits garments expected to serve more than one child.

A label sewn into the neck, side seam or waistband is less likely to lift at the edges than an adhesive option. It does take a little more time, so it may not be the best choice for every pair of socks in a back-to-school pile. It is, however, worthwhile for those higher-cost pieces that tend to go missing at assemblies, after sport or on buses.

Stick-on labels for smooth, hard surfaces

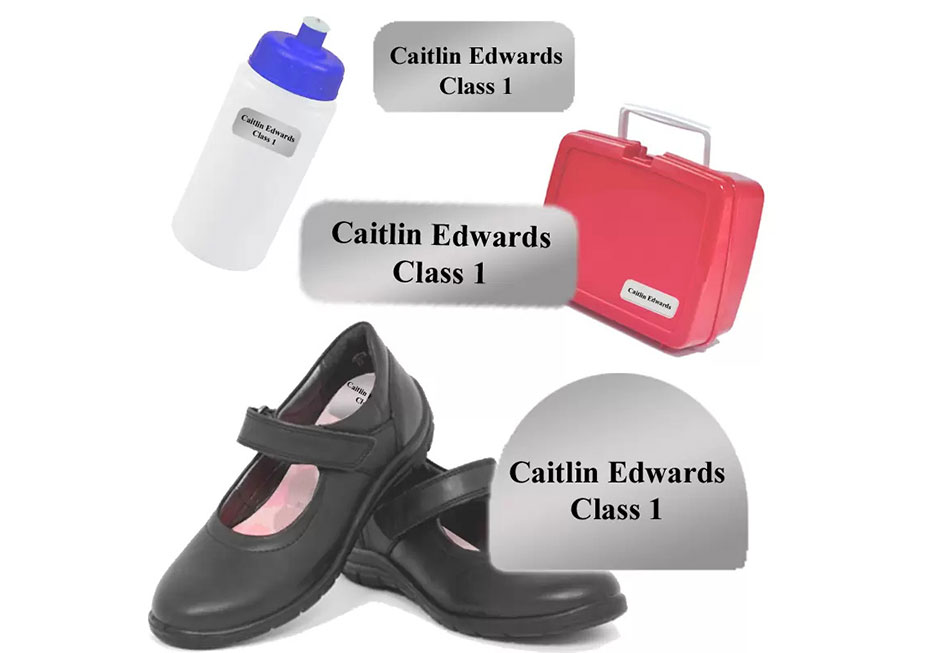
Stick-on labels work well for drink bottles, lunch boxes, stationery cases, calculators, musical instrument cases and the hard insides of shoes. Look for durable labels designed to cope with moisture, handling and routine washing.

For shoes, place the label on the insole or a clean, flat area under the tongue. Avoid the edge of the insole, where friction can make it peel. If the shoe interior is heavily textured or constantly damp, a small sew-in label on the tongue may last better.

Fabric stamps for quick sorting

A personalised clothing stamp can be a fast solution for cotton-rich garments, especially when you have a large number of items to prepare. Stamp inside the collar, waistband or care-tag area and let the ink dry fully before wearing or washing.

Stamps are convenient, but results vary across fabrics. They tend to show best on pale, smooth materials and can fade faster on dark or heavily stretched fabric. For dark jumpers and sportswear, a contrasting heat-transfer or sewn label is usually easier to find and read.

Where to put labels on school uniforms

A label only helps if it can be spotted without turning a garment inside out three times. Put it in a consistent place on each item so your child knows where to look as well.

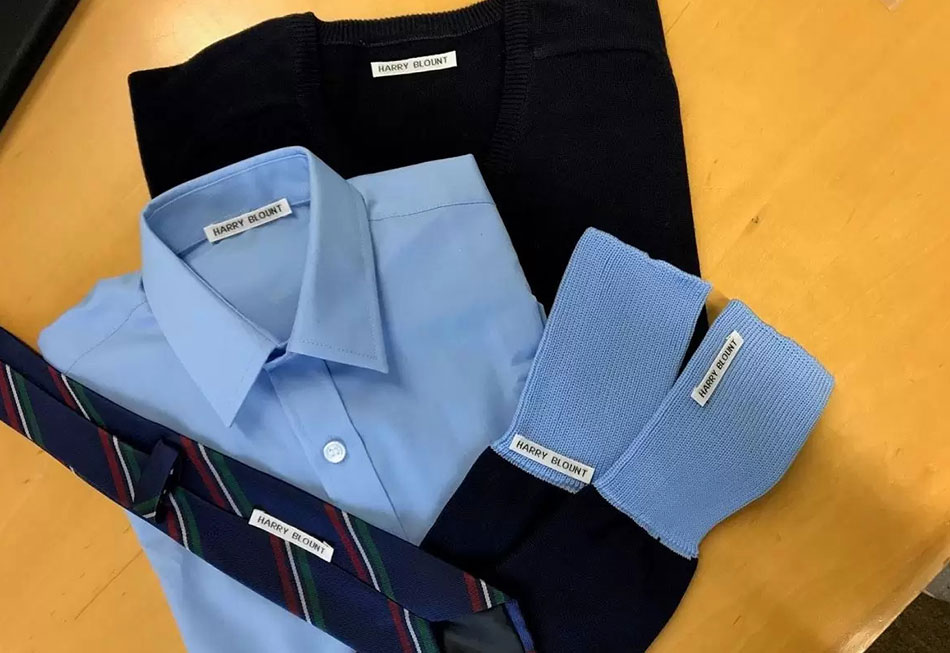
For shirts, dresses and jumpers, the back neck or existing care-label area is usually best. Label shorts, skirts and trousers inside the waistband. On hats, use the inner sweatband or care label. For socks, label the sole area near the heel if using a suitable transfer, or stitch a small label near the top edge where it will not irritate.

Sports uniforms need particular attention. Name the polo, shorts, jacket, socks, cap, drink bottle and footwear separately. It is common for children to change quickly after training, and a named top alone does not help when the matching shorts and cap disappear into a team gear pile.

Avoid placing labels over washing instructions unless you already know the garment’s care requirements. Also steer clear of thick seams, elastic sections and areas exposed to constant rubbing, such as underarms. These spots are harder to label securely and can be uncomfortable.

A practical way to label everything before term starts

Sort the uniform into groups before you begin: everyday clothing, sports gear, footwear, outerwear and non-clothing items. Lay each group out and label every piece before moving to the next. This reduces the chance that one lone hat or spare pair of shorts is left unnamed.

If you have more than one child, prepare separate piles and double-check similar names. Labels for siblings should be distinct enough to recognise at a glance. Different border colours or icons can be helpful, but do not rely on colour alone when school staff need to identify an owner.

It is worth naming more than the official uniform. Include raincoats, library bags, art smocks, headphones, lunch gear, swimming towels, sunscreen containers and any equipment required for after-school activities. Camp packing lists are a useful reminder of how many small items can go astray.

Before applying labels, wash new garments if they have a factory finish or feel slippery. This can help heat-applied labels adhere properly. Make sure every item is fully dry, then test one label on a less important garment if you are using a new product or fabric type.

Keep labels readable through the school year

Check labels at the start of each term, especially on hats, jumpers and shoes. Children grow, uniforms are handed down and shoes are replaced, so names need updating more often than many families expect.

Wash clothing according to its care instructions and avoid harsh treatment that can shorten the life of both garment and label. If an iron-on label starts lifting at one corner, reapply heat early rather than waiting for it to fall off completely. For stick-on labels, replace any that become difficult to read after heavy use.

When uniforms are passed to a younger sibling, cover or remove the original name properly. A new label placed over an old one is fine if the surface is clean and flat, but a handwritten cross-out can leave staff guessing. Clear identification makes returns quicker and avoids awkward mix-ups.

Small labels, fewer replacements

The goal is not to make every uniform item look decorated. It is to give each piece a clear route home when it is left on an oval, in a change room or at the bottom of a classroom tub. Durable labels, sensible placement and a quick term-by-term check will keep school belongings easier to identify – and leave you with fewer items to replace before the year is out.

For families preparing a full uniform pile, choosing labels designed for regular wear and washing is a practical investment. Woven Labels Direct can help match the label type to the item, so every name stays where it is needed.

Categories
Uncategorized

Name Labels for School Camp That Stay Put

A camp packing list can look perfectly organised at home, then turn into a pile of nearly identical jumpers, drink bottles and towels by the second day. Name labels for school camp give every item a clear route back to its owner, whether it is left at the oval, mixed into cabin laundry or collected from the lost-property table on the final morning.

For parents, the aim is not simply to put a name on everything. The right label needs to suit the item, stay readable through the conditions your child will face, and be quick enough to apply before the packing deadline. Camp often means mud, rain, shared bathrooms, rough handling and plenty of hurried unpacking. A good labelling plan takes all of that in its stride.

Why school camp needs more than a marker pen

A permanent marker can be useful for a quick note inside a pencil case, but it is rarely a complete solution for camp gear. Names can fade after washing, rub off smooth plastic and become difficult to read on dark fabric. More importantly, a handwritten name inside a jacket is not much help when the jacket is sitting on a bench outside the dining hall.

Camp adds another complication: children are often responsible for their own belongings away from home for the first time. They may be changing clothes quickly, sharing a room with classmates and packing up before breakfast. Clearly labelled items make it easier for teachers and camp staff to return misplaced gear without needing to play detective.

The practical value is obvious, but there is a small confidence boost too. Children are more likely to recognise and look after their own things when their name is easy to spot. That matters most with expensive essentials such as raincoats, sleeping bags, shoes and water bottles.

Choose name labels for school camp by surface

There is no single label that is best for every camp item. The right labels for the right job depend on what you are naming, how it will be used and whether it will go through the wash.

Clothing and uniforms

For T-shirts, shorts, jumpers, socks and underwear, iron-on name labels are a practical choice. Applied correctly to the care-label area or another suitable fabric section, they provide a neat, long-lasting result without sewing. They are particularly handy when several similar garments are heading to camp.

Sew-in woven labels can be worth considering for items your child will wear regularly well beyond one camp, such as school uniforms, sports gear or a favourite hoodie. They take longer to attach, but they are made to last and offer a tidy finish on clothing. If time is short, however, iron-on labels are usually the more realistic option.

Avoid placing labels where they may cause irritation, such as directly against the neck if the garment has no existing care label. A discreet position inside the side seam or at the lower back is often more comfortable.

Drink bottles, lunch boxes and toiletries

Water bottles, food containers, sunscreen, shampoo, torches and toiletry bags need labels that handle moisture and repeated handling. Waterproof printed labels are suited to these hard surfaces, provided the surface is clean and dry before application.

For best adhesion, wipe away dust, oil and moisture first, then allow the label to settle before the item goes into a school bag or esky. Very textured, rubbery or heavily curved surfaces can be more difficult. In those cases, place the label on the flattest available section, rather than over a ridge or moulded grip.

Shoes, hats and outdoor gear

Shoes are regularly misplaced at camp, especially when everyone takes them off outside a cabin or activity hall. Shoe labels should be placed where they can be read but will not rub against the foot. The tongue is often a better spot than the insole, which can wear quickly or become uncomfortable.

For hats, backpacks, raincoats and sleeping bags, think about visibility as well as durability. An inside label is useful for confirming ownership, but a second label or name tag in an obvious location can speed up returns. On a backpack, for example, a label inside the top flap plus a named luggage strap or tag can make identification much easier.

What information should a camp label include?

For most primary school camp items, a child’s first name and surname are enough. A larger, easy-to-read font is more useful than squeezing in too much detail. Teachers and camp staff need to be able to read the name quickly, often from a short distance.

Adding a parent’s mobile number can be helpful on high-value gear such as luggage, a sleeping bag or a jacket, particularly if the item could be left behind after camp. It is less necessary on every sock, pencil and snack container. Keep the information proportionate to the item and your family’s privacy preference.

A class, school name or distinctive symbol may also help where several children have the same name. That said, overly detailed labels can become crowded. A simple format such as “Ava Martin, 4B” is usually clear and practical.

A realistic camp labelling checklist

The mistake many families make is labelling only the obvious items. By the time the bag is packed, the most easily lost things are often the small extras: torch, bathers, thongs, towel, medication pouch, pillowcase and wet bag.

Before packing, lay everything out by category and label it in one session. Clothing can be done first, followed by toiletries, then outdoor gear and stationery. This is far quicker than stopping to label items as they disappear into the bag.

Make sure these commonly misplaced camp items are covered:

  • Every clothing item, including socks, underwear, hats and pyjamas
  • Shoes, thongs, raincoat, jumper and bathers
  • Drink bottle, lunch box, torch, sunscreen and insect repellent
  • Towel, sleeping bag, pillow, pillowcase and laundry bag
  • Backpack, suitcase, medication container and activity gear

It is also worth showing your child where the labels are. Ask them to check their name before putting an item on, packing up their bunk or leaving an activity area. Labels work best when children know to look for them.

Getting labels to last through camp and beyond

Durability comes down to matching the label to the surface and applying it properly. For iron-on labels, follow the application instructions closely, including the recommended heat setting and pressing time. A rushed application can lead to lifting at the edges after the first wash.

For waterproof labels, clean and dry the surface before applying. Do not stick them over dirt, condensation or an old peeling label. Once applied, give the adhesive time to bond before washing the item or filling the bottle.

It is sensible to order a few more labels than the camp list appears to require. Children come home with extra craft projects, borrowed items and occasionally a new piece of kit that was not on the original list. Spare labels are also useful for replacing one that has been damaged or for school terms ahead.

At Woven Labels Direct, labels are made to order and made to last, with practical options for clothing, hard surfaces and gear that sees regular use. For busy families, having help to select the right format can save a lot of guesswork before camp week arrives.

When to start labelling for camp

Do not leave it until the night before departure. The week leading up to camp is often busy with permission forms, medication requirements, shopping and last-minute weather changes. Starting early means you can wash new clothes first, apply labels properly and check that every item is accounted for.

A useful approach is to label as soon as the camp list comes home, then keep a small group of spare labels in a drawer for late additions. When packing day arrives, you can focus on helping your child feel prepared rather than hunting for a pen that may not survive the first downpour.

The best camp labels are the ones nobody has to think about after they are applied. They stay put, stay readable and quietly help each much-loved item find its way home.

Subscribe to our newsletter!
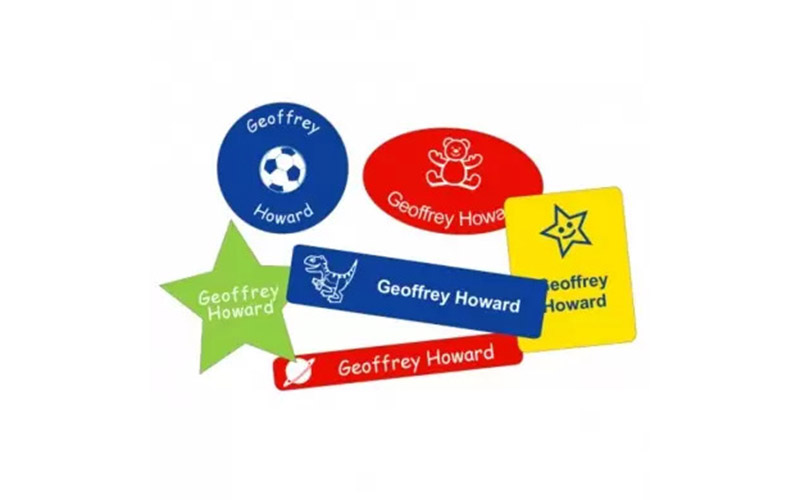
Subscription Form